Benson X
.270 WIN
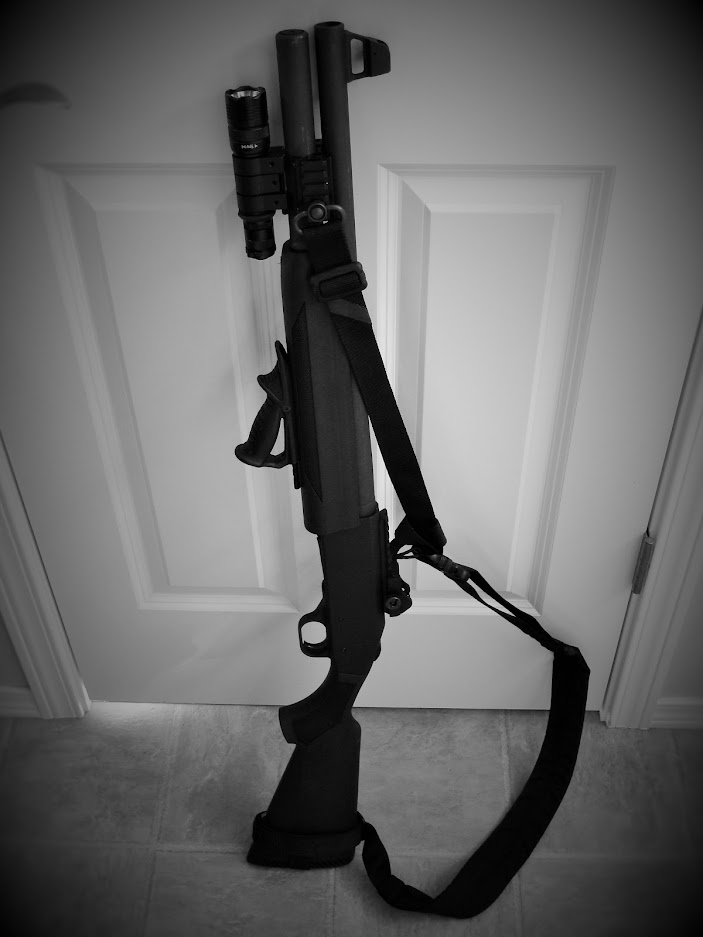
I saw the posts from RippSpeed and mb1911 and got inspired to add a rail to my stock forend instead of buying an ETA Bobcat, Aimpro Tri-Rail, or BlackAces Quad. Mainly because I am cheap (frugal) and I like the clean look of the stock forend, plus I like DIY projects. ")
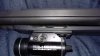
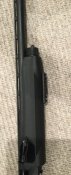
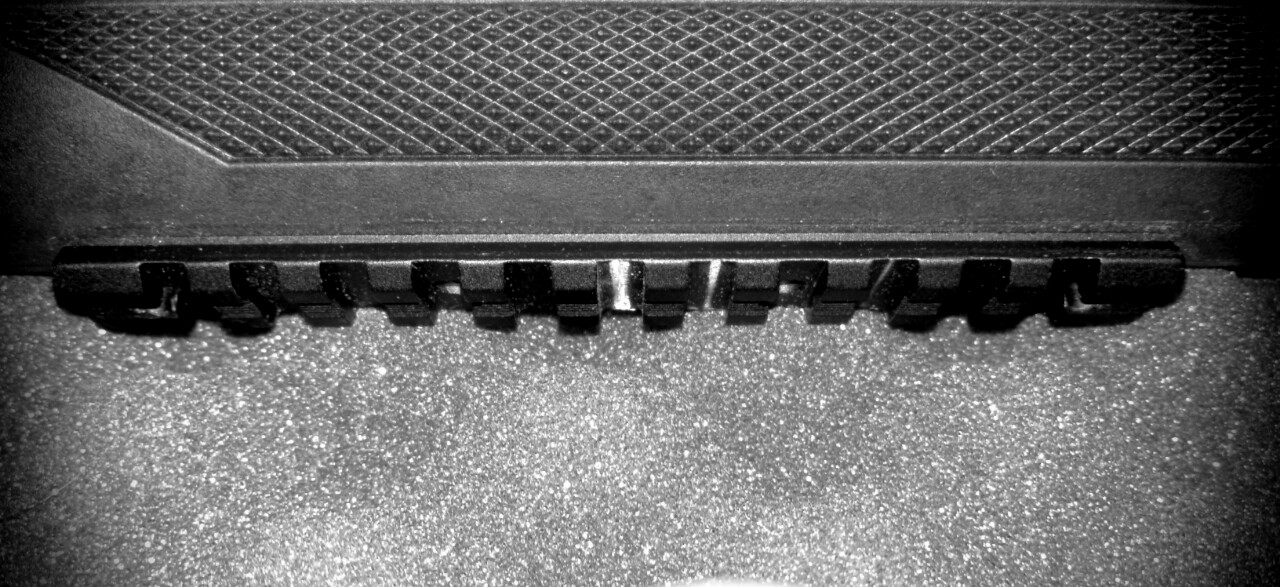
I started looking for a rail that had a curved radius on the bottom to match the curve of the forend. That way, I wouldn't have to grind or plane the surface flat in order to flush-mount the rail. I ended up with a Millett PC00107, though there are other options that will work (check out my original thread HERE).
I sourced some hardware from Fastenal that worked great, and was compatible with the small counter-sunk holes on the Millett rail.
PARTS USED: *Depending on the rail you choose, you might use different hardware
Curved Rail (Millett PC00107 worked great)
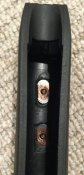
(4) #4-40 Standoff Nuts (1/4")
(4) #4-40 Undercut Flat Machine Screw (5/16")
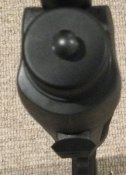
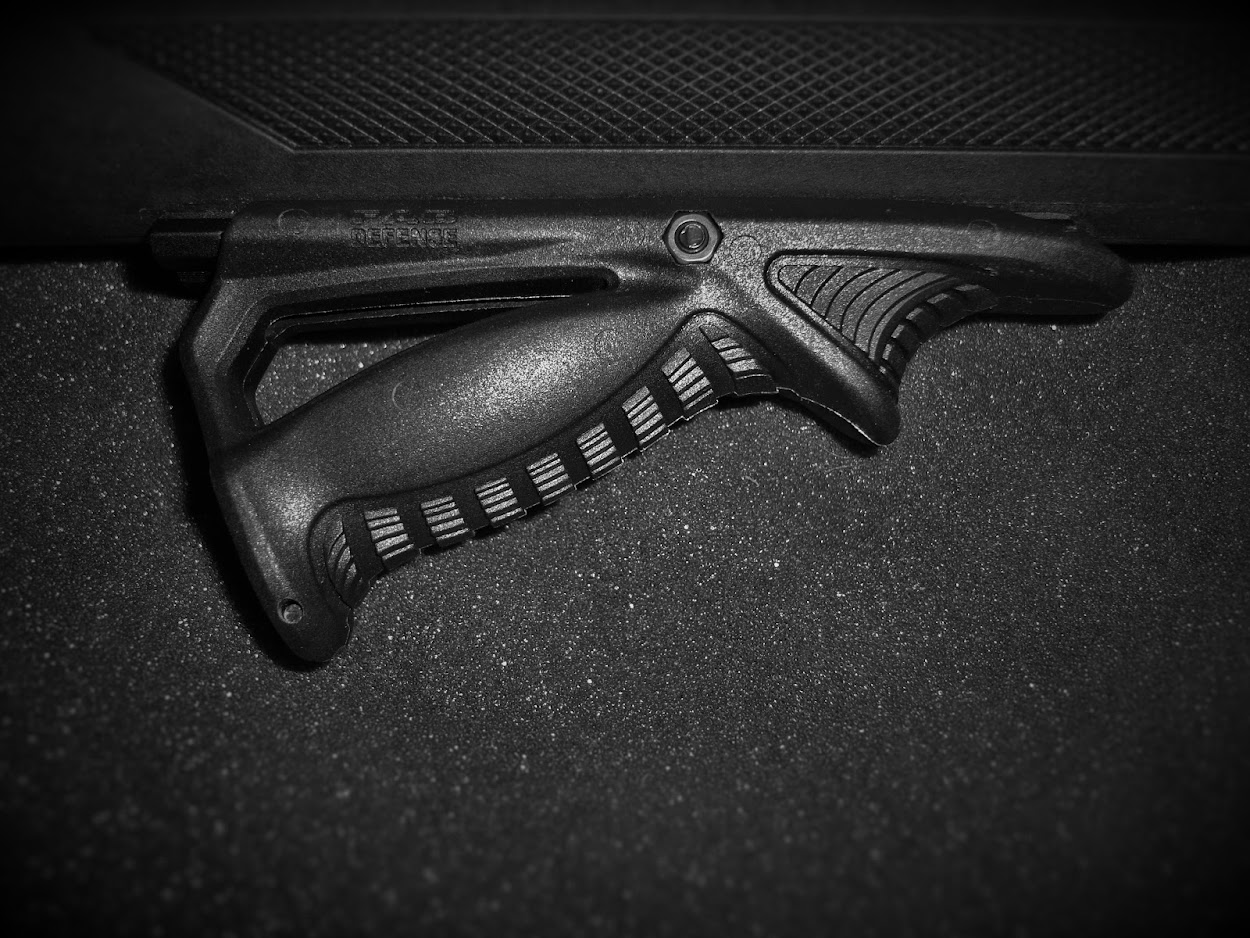
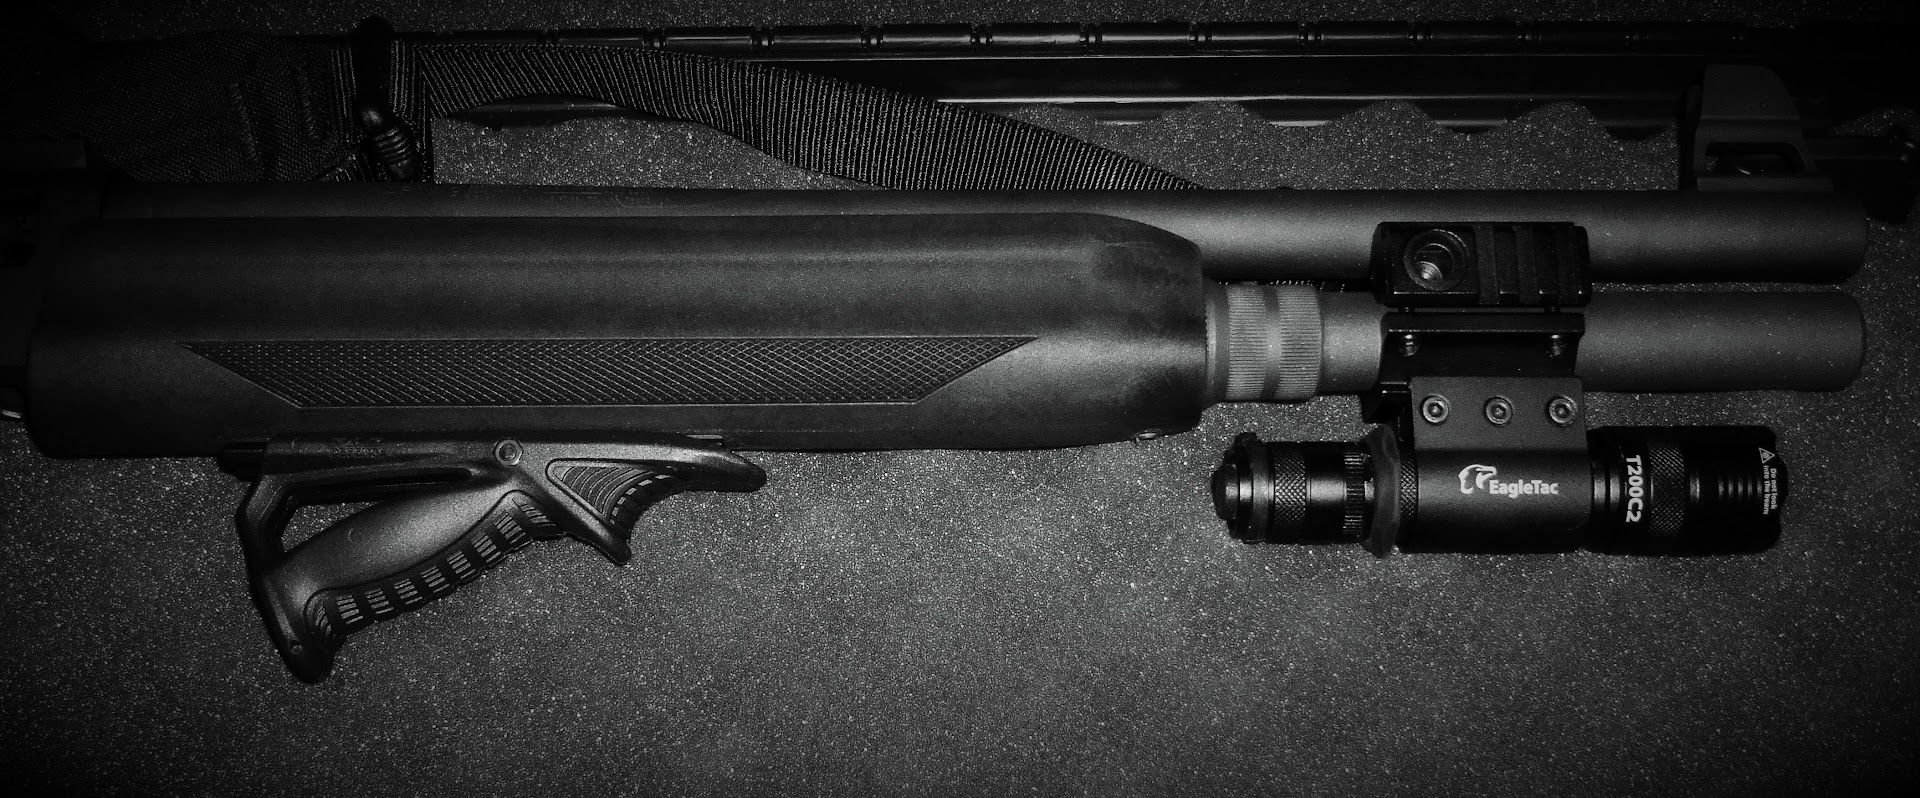
FAB Defense PTK Angled ForeGrip
TOOLS USED
Drill (drill press or drill guide strongly recommended)
5/32 Bit (depending on the mounting hardware used)
Center Punch
Masking Tape
Pencil, Pen, or Sharpie
Blue ThreadLock
STEP 1: Mark Your Holes
Make sure the shotgun is UNLOADED!!!
PICTURES
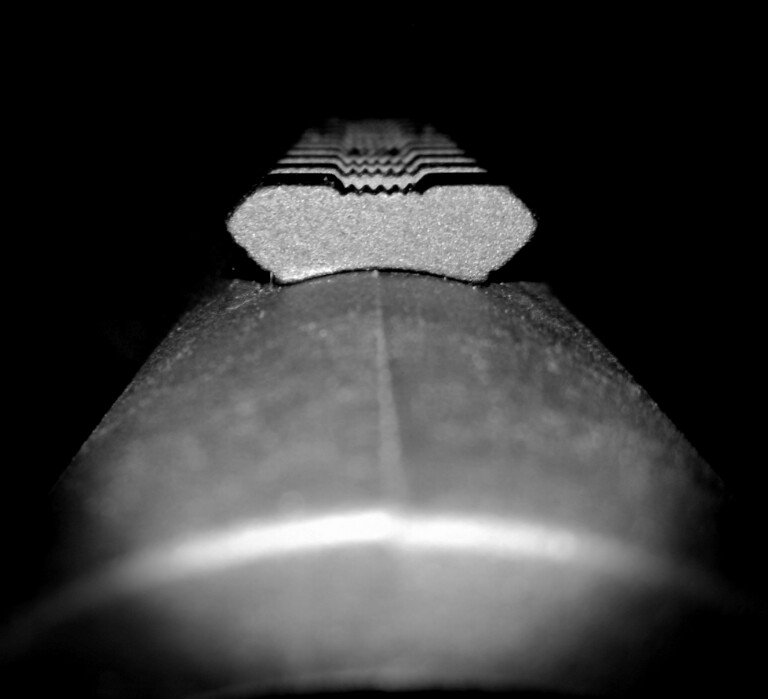

I started looking for a rail that had a curved radius on the bottom to match the curve of the forend. That way, I wouldn't have to grind or plane the surface flat in order to flush-mount the rail. I ended up with a Millett PC00107, though there are other options that will work (check out my original thread HERE).
I sourced some hardware from Fastenal that worked great, and was compatible with the small counter-sunk holes on the Millett rail.
PARTS USED: *Depending on the rail you choose, you might use different hardware
Curved Rail (Millett PC00107 worked great)
(4) #4-40 Standoff Nuts (1/4")
(4) #4-40 Undercut Flat Machine Screw (5/16")
FAB Defense PTK Angled ForeGrip
TOOLS USED
Drill (drill press or drill guide strongly recommended)
5/32 Bit (depending on the mounting hardware used)
Center Punch
Masking Tape
Pencil, Pen, or Sharpie
Blue ThreadLock
STEP 1: Mark Your Holes
Make sure the shotgun is UNLOADED!!!
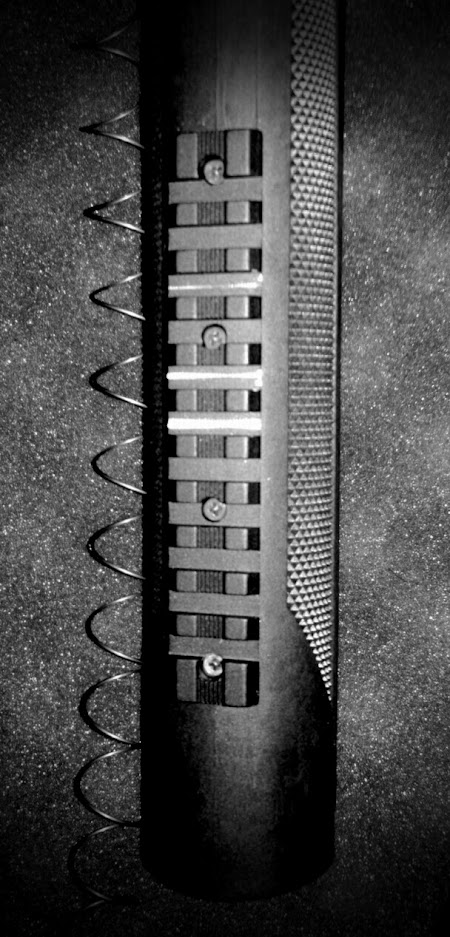
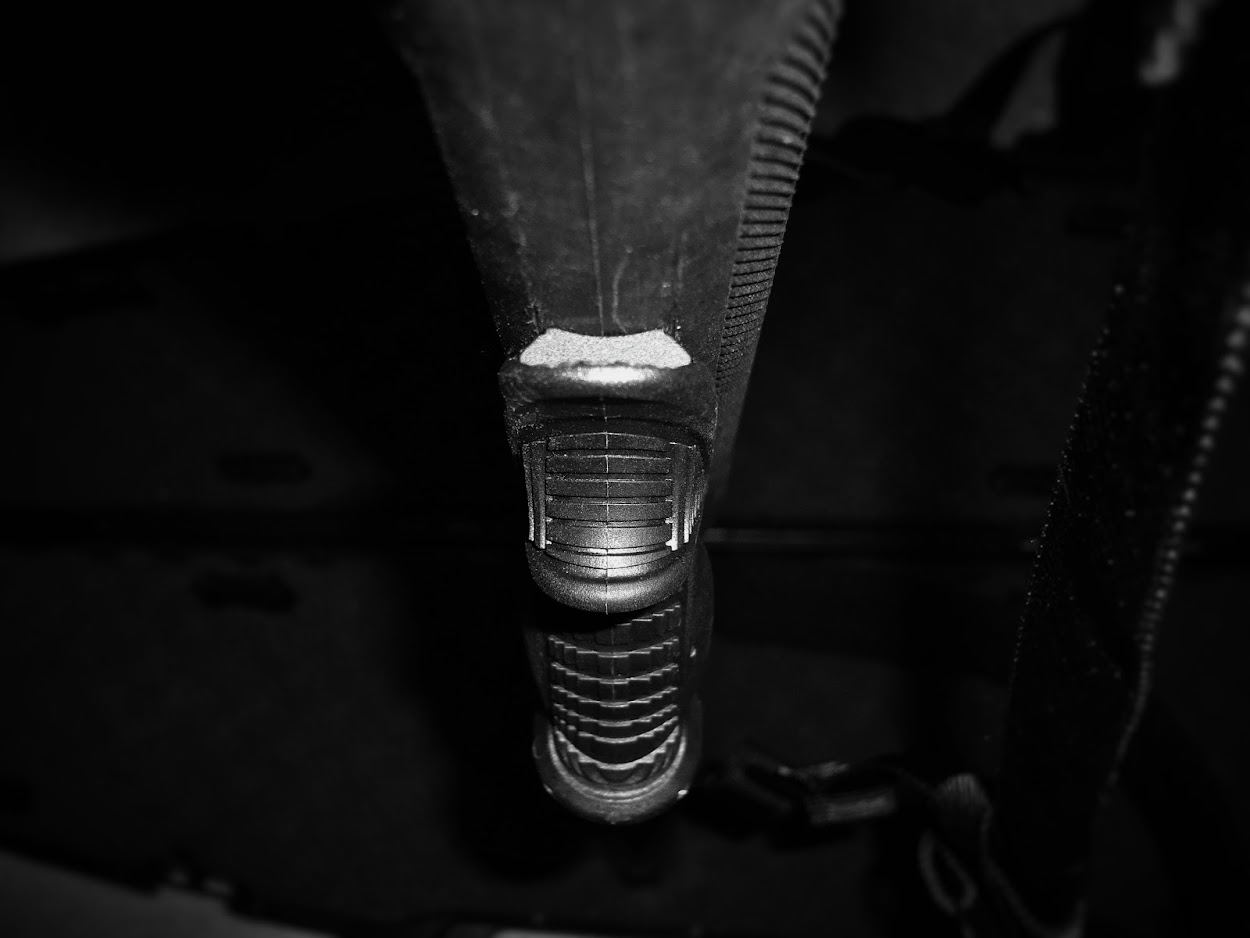
- Unscrew the magazine tube. Remove the spring and remove the forend.
- Lay a strip of masking tape down the length of the bottom of the forend. Find where you want to mount the rail, and draw a line on the tape on each end of the rail. Match up the rail with your lines and mark each hole on the tape.
- Remove the rail and use your center punch to tap a "start" in the center of each hole-mark.
- Use your Drill Press (or Drill & Guide) to drill the holes that were marked and punched.
* I used a 5/32 bit, and it was a VERY SNUG fit for the #4-40 standoff nuts that I used (I had to gently "tap" each one into place). Depending on the hardware you choose to match the rail, you may need to use a bigger (or smaller) bit. - Insert your standoff nuts into each hole and remove the Masking Tape.
* The standoff nuts are through-threaded and 1/4" long, so they will engage the screw's fine threads through the entire thickness of the forend. They also have a hex-flange that "bites in" and keep them tight and in-place.
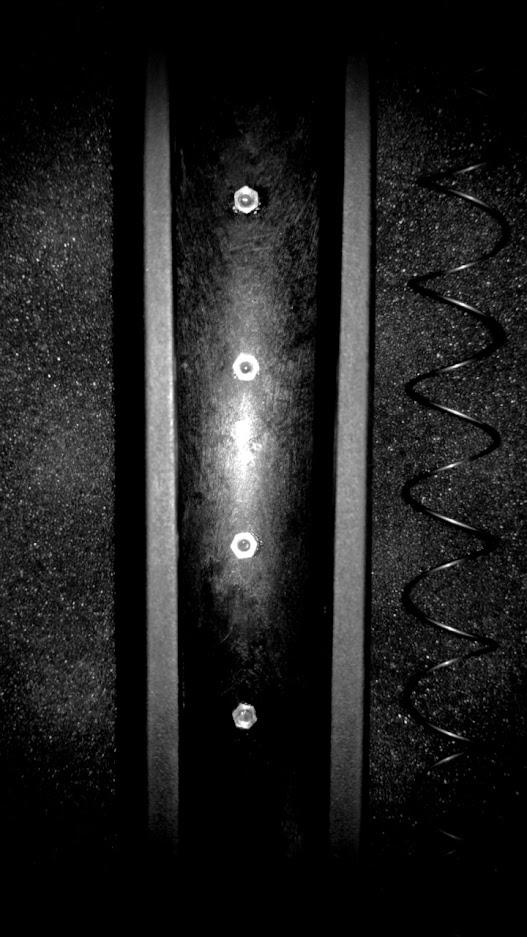
- Install your rail and barely tighten down each screw.
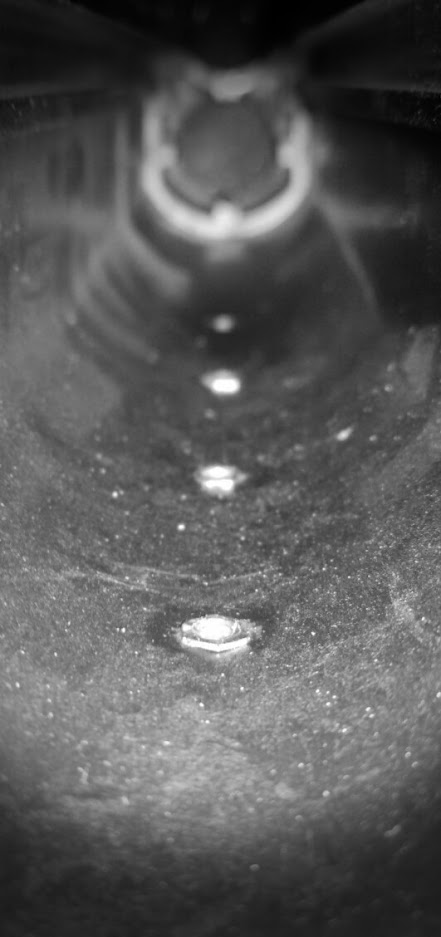
- Add a drop of Blue LocTite into each nut from the top side (inside the forend).
- Allow the LocTite to work down the threads (tighten and loosen each screw a few times) and then finally tighten down the rail. Double-check to make sure the nuts are not spinning as you tighten the screws.
- Re-assemble your shotgun and install your AFG, Grip, Tac Light or whatever accessory your are adding.
- Check to make sure the accessory holds strong and, if possible, fire off a few rounds to insure it holds tight.
- Celebrate saving yourself $100+ dollars by enjoying your favorite frosty beverage
PICTURES
Last edited: