Dysfunctional
.270 WIN
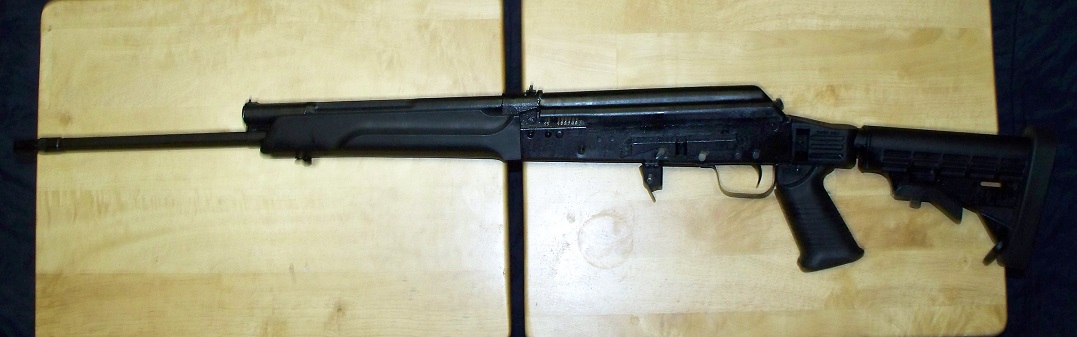
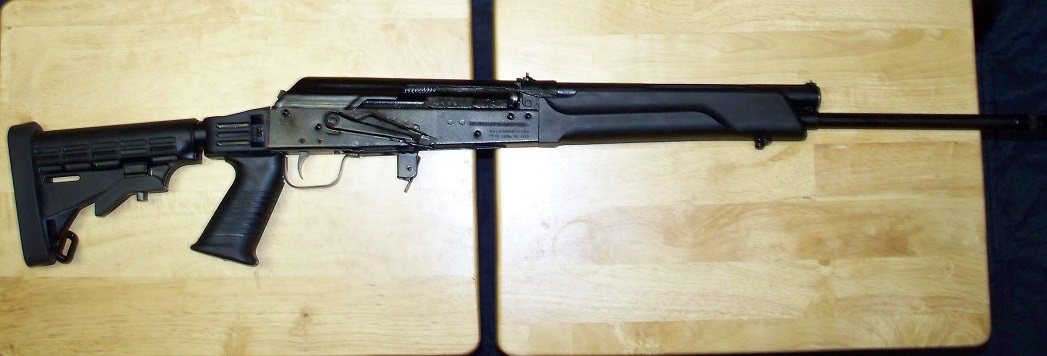
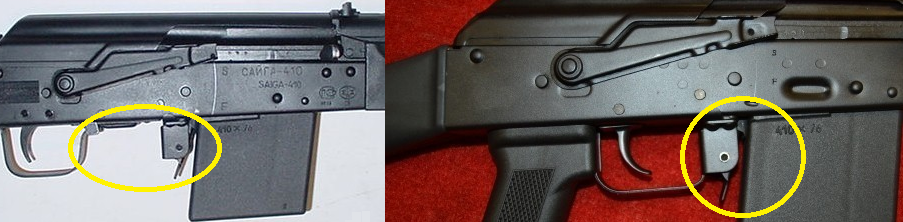
I acquired a Saiga (pronounced "sigh-gah" and not like the game console) .410 shotgun by Izmash (Russian manufacturer) that was imported by Kalashnikov USA. It is a first generation (they are producing 3rd gens now). This is how she looked when I acquired her. The previous owner had exchanged the original stock for a Tapco adjustable.
I did my conversion:
- Fire Control Group
- JTE performance main spring
- Trigger guard
- Extended mag release
- Krebs Mark VI-S safety selector
- M4 commercial size stock adapter
- M4 VLTOR stock
- Saw grip
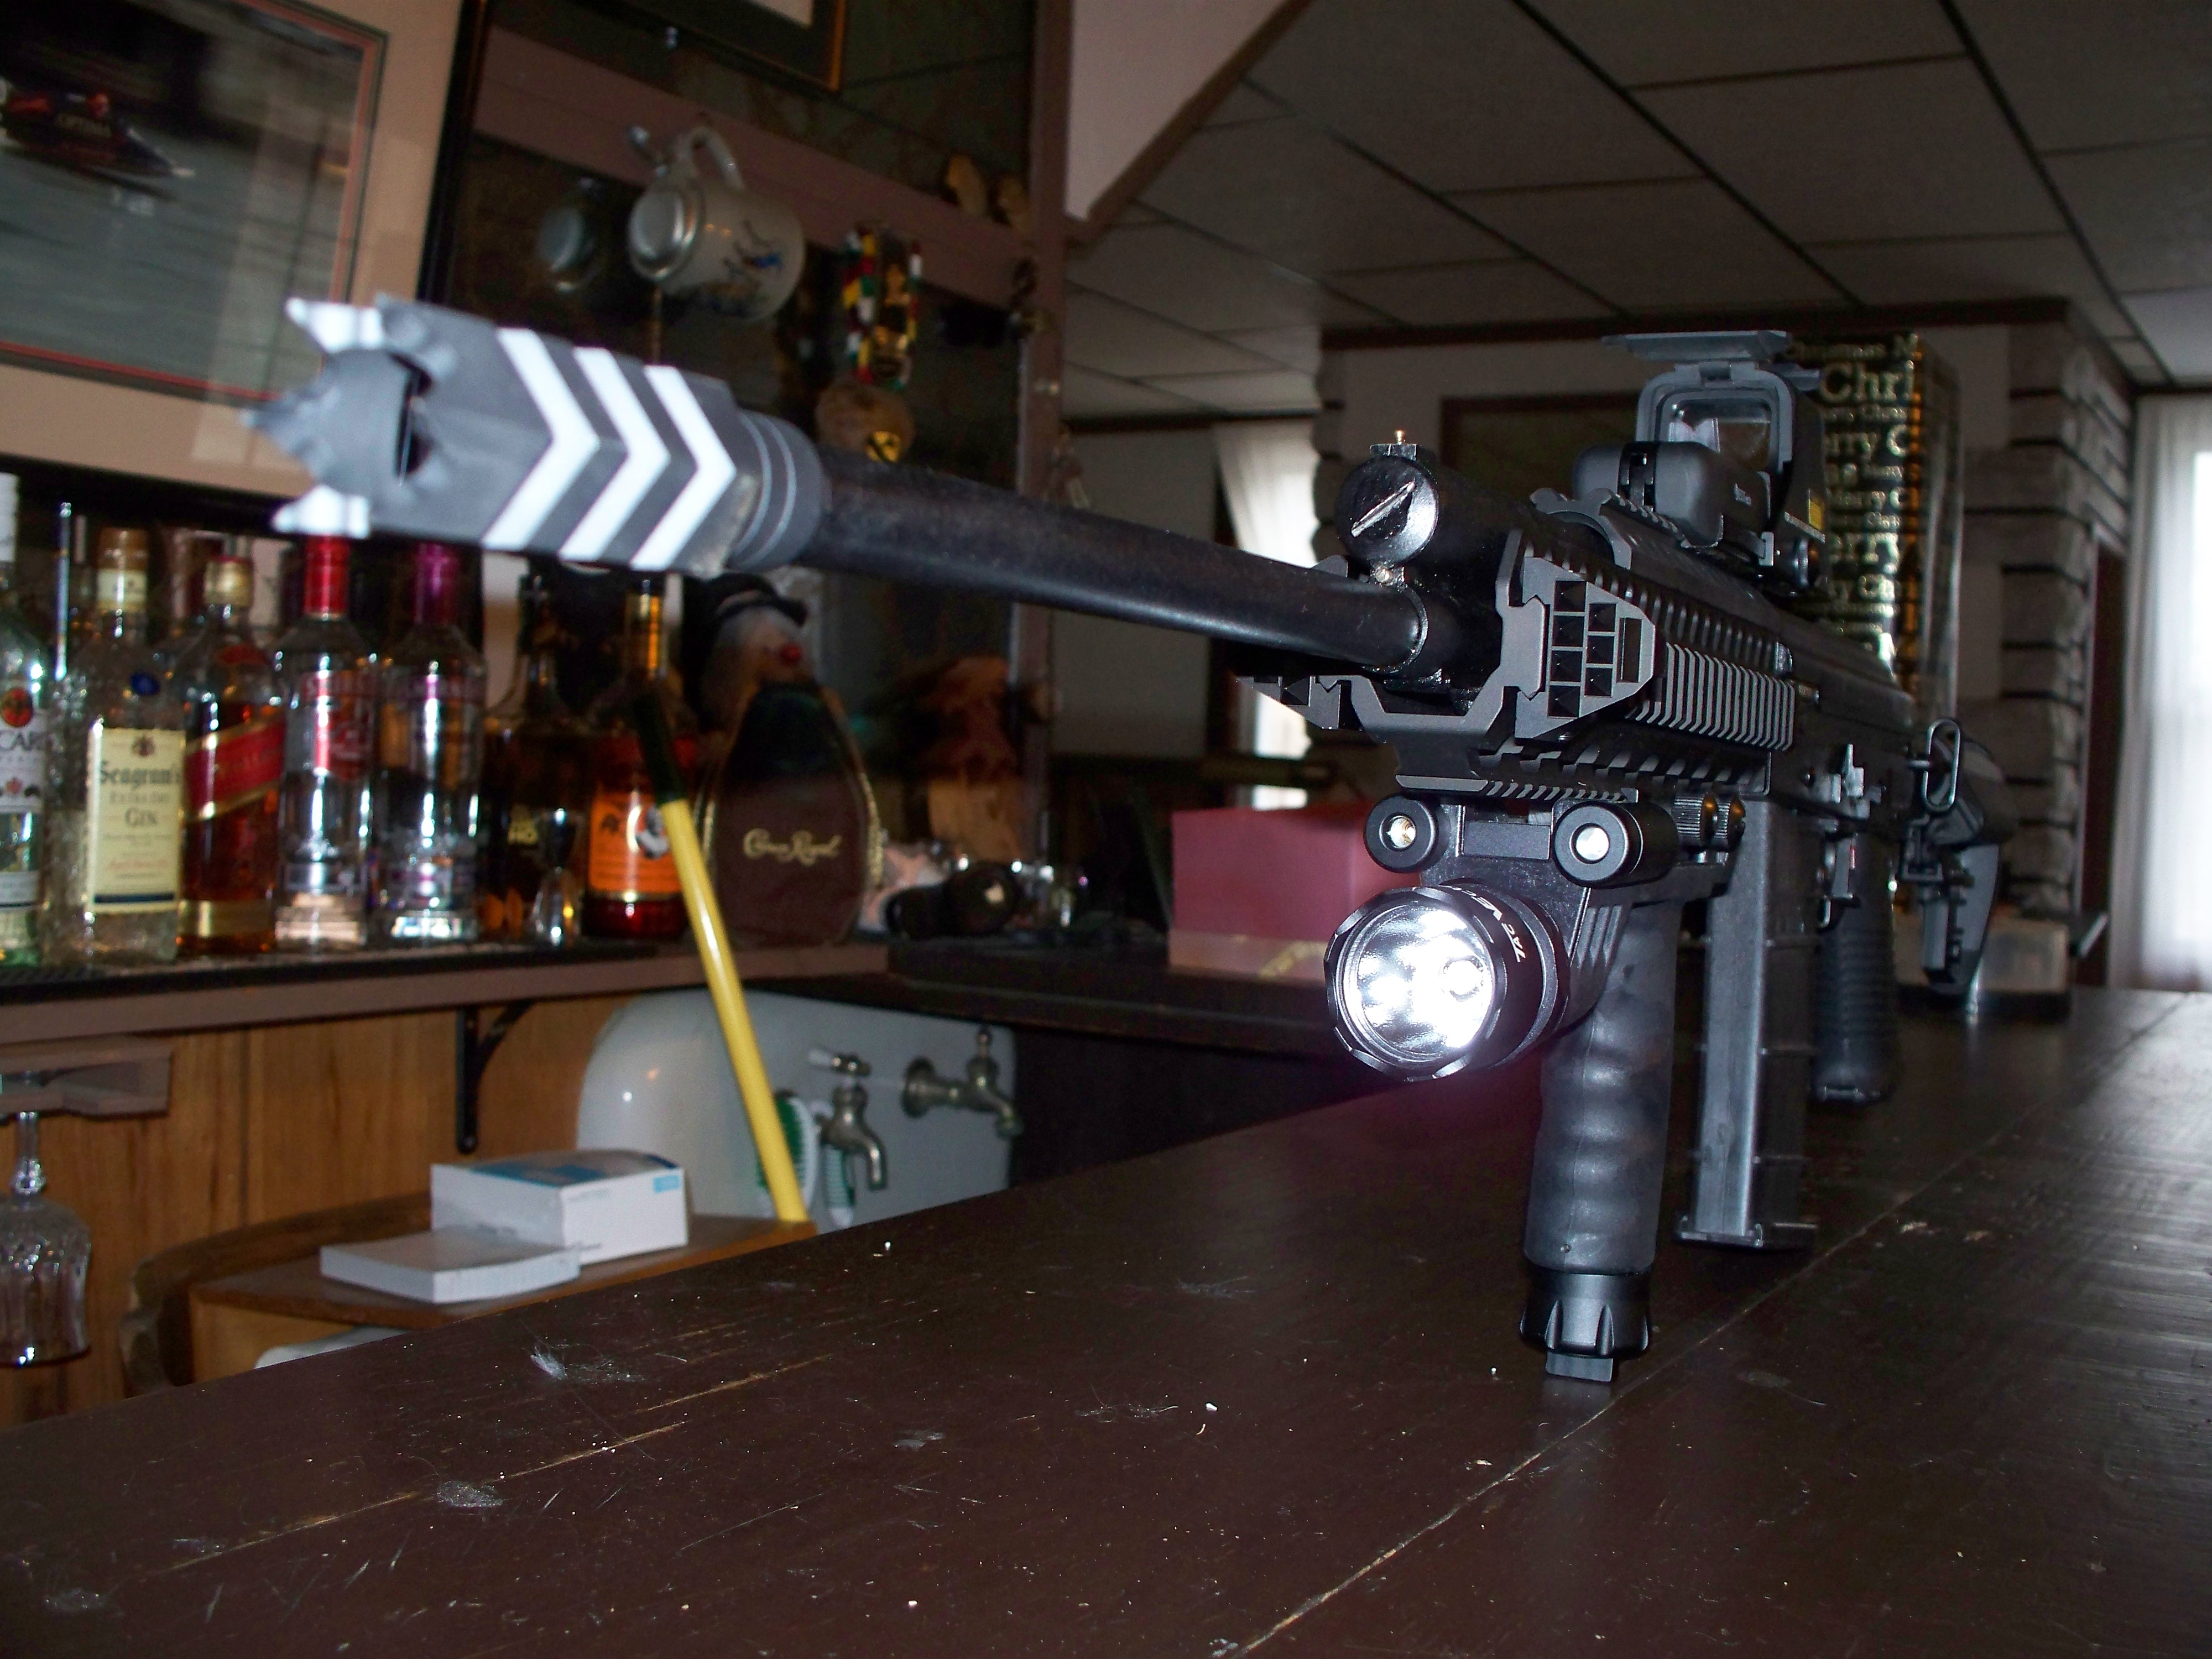
- Tromix Shark muzzle brake
- Carolina quad-rail
- Tromix charging handle knob
- Noveske K-9's
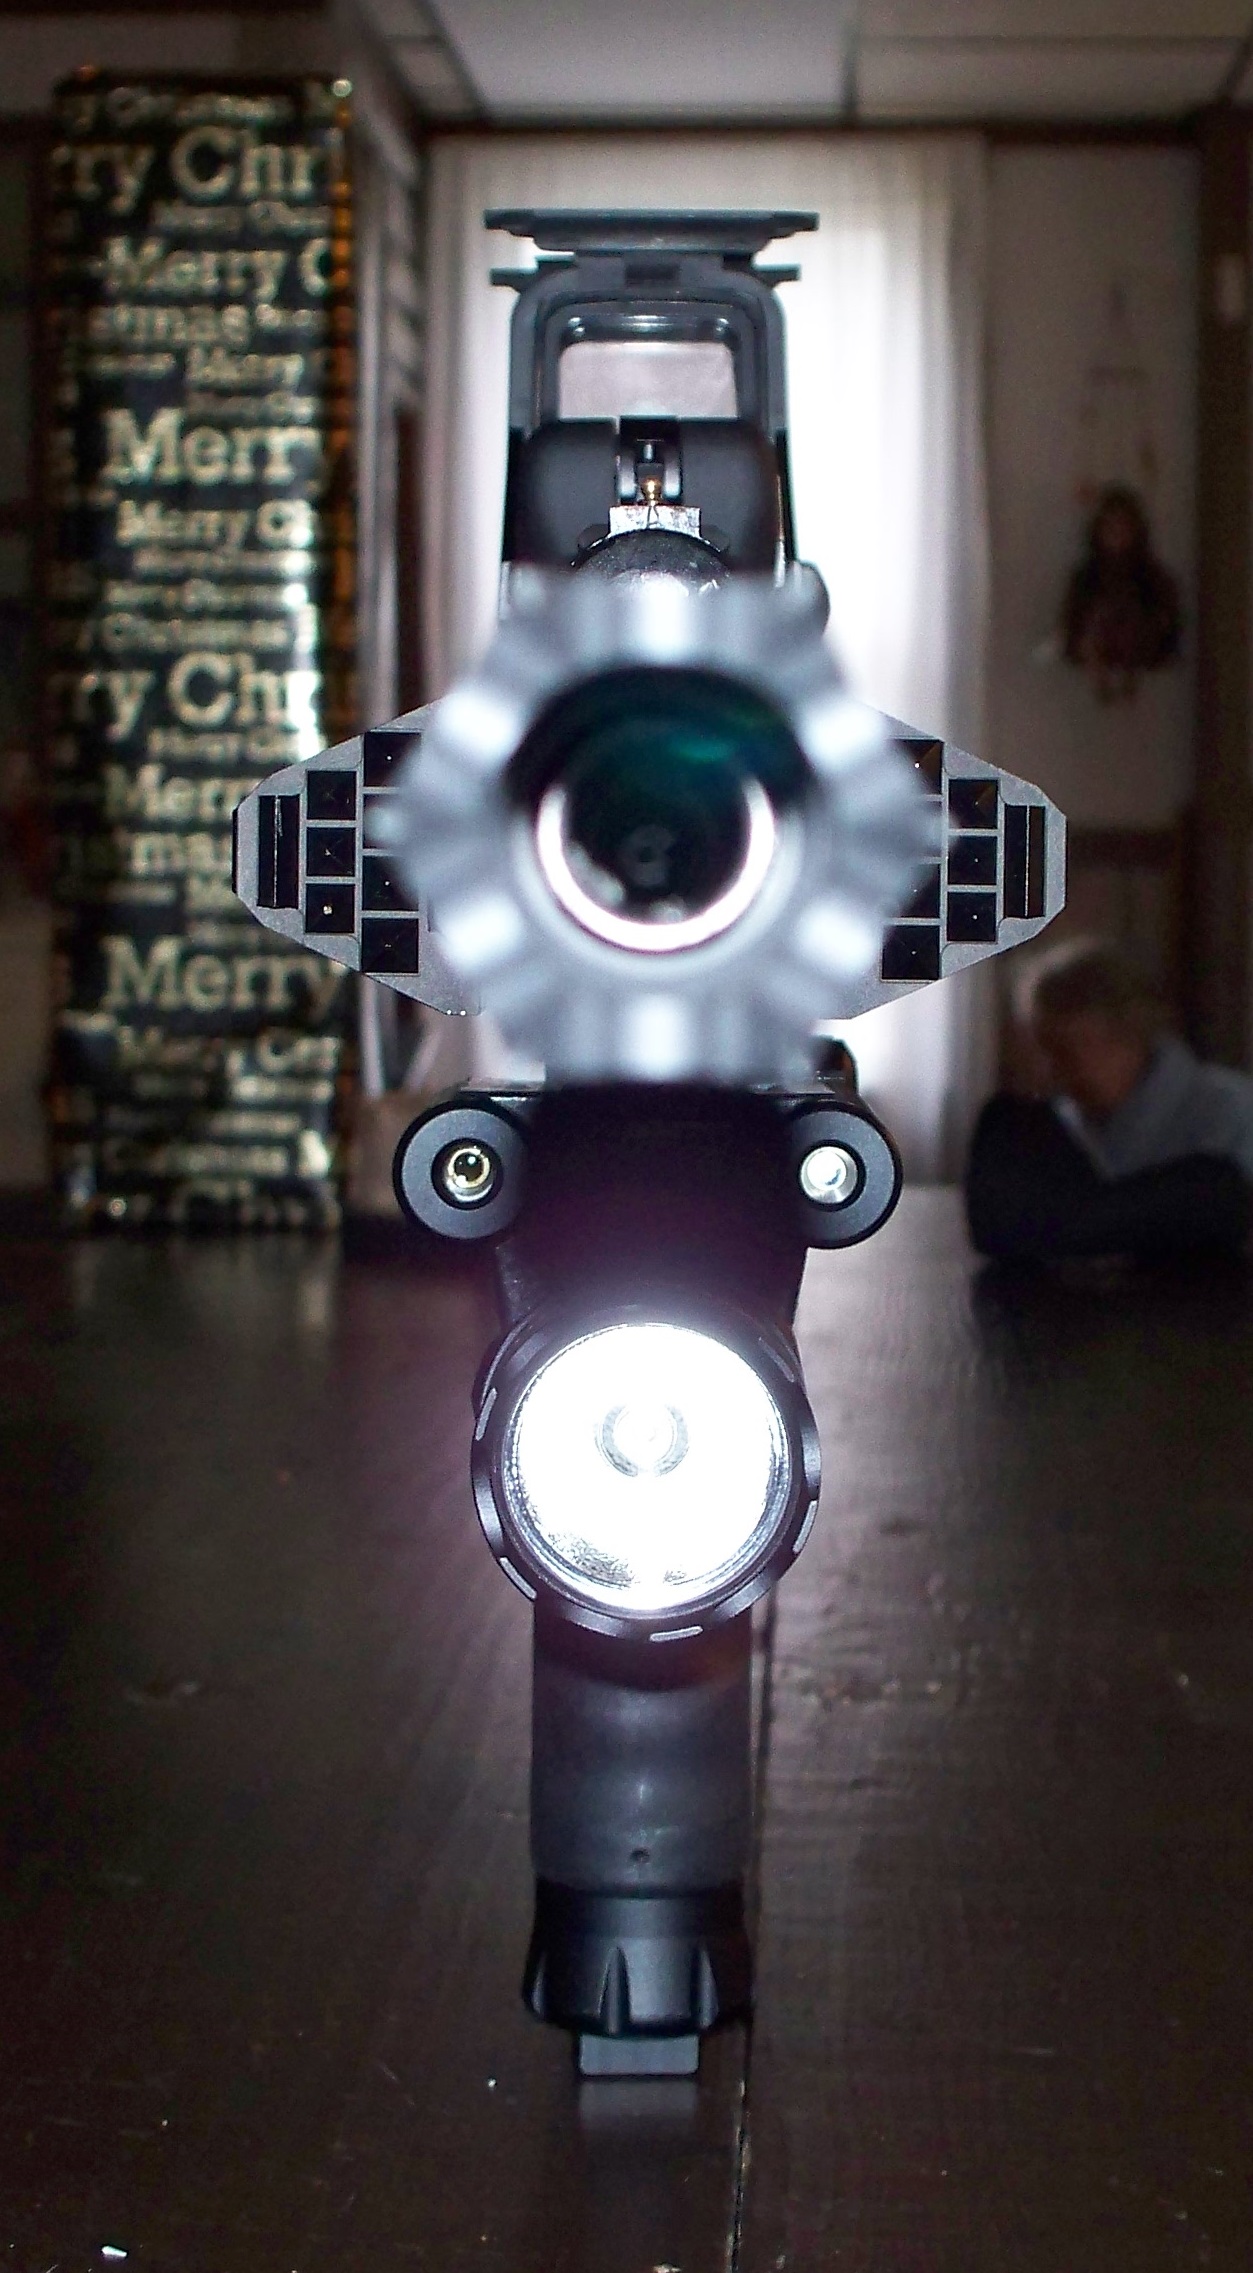
- HUD optic red/green
- Foregrip/falshlight/green laser/navigation light
She now looks like:
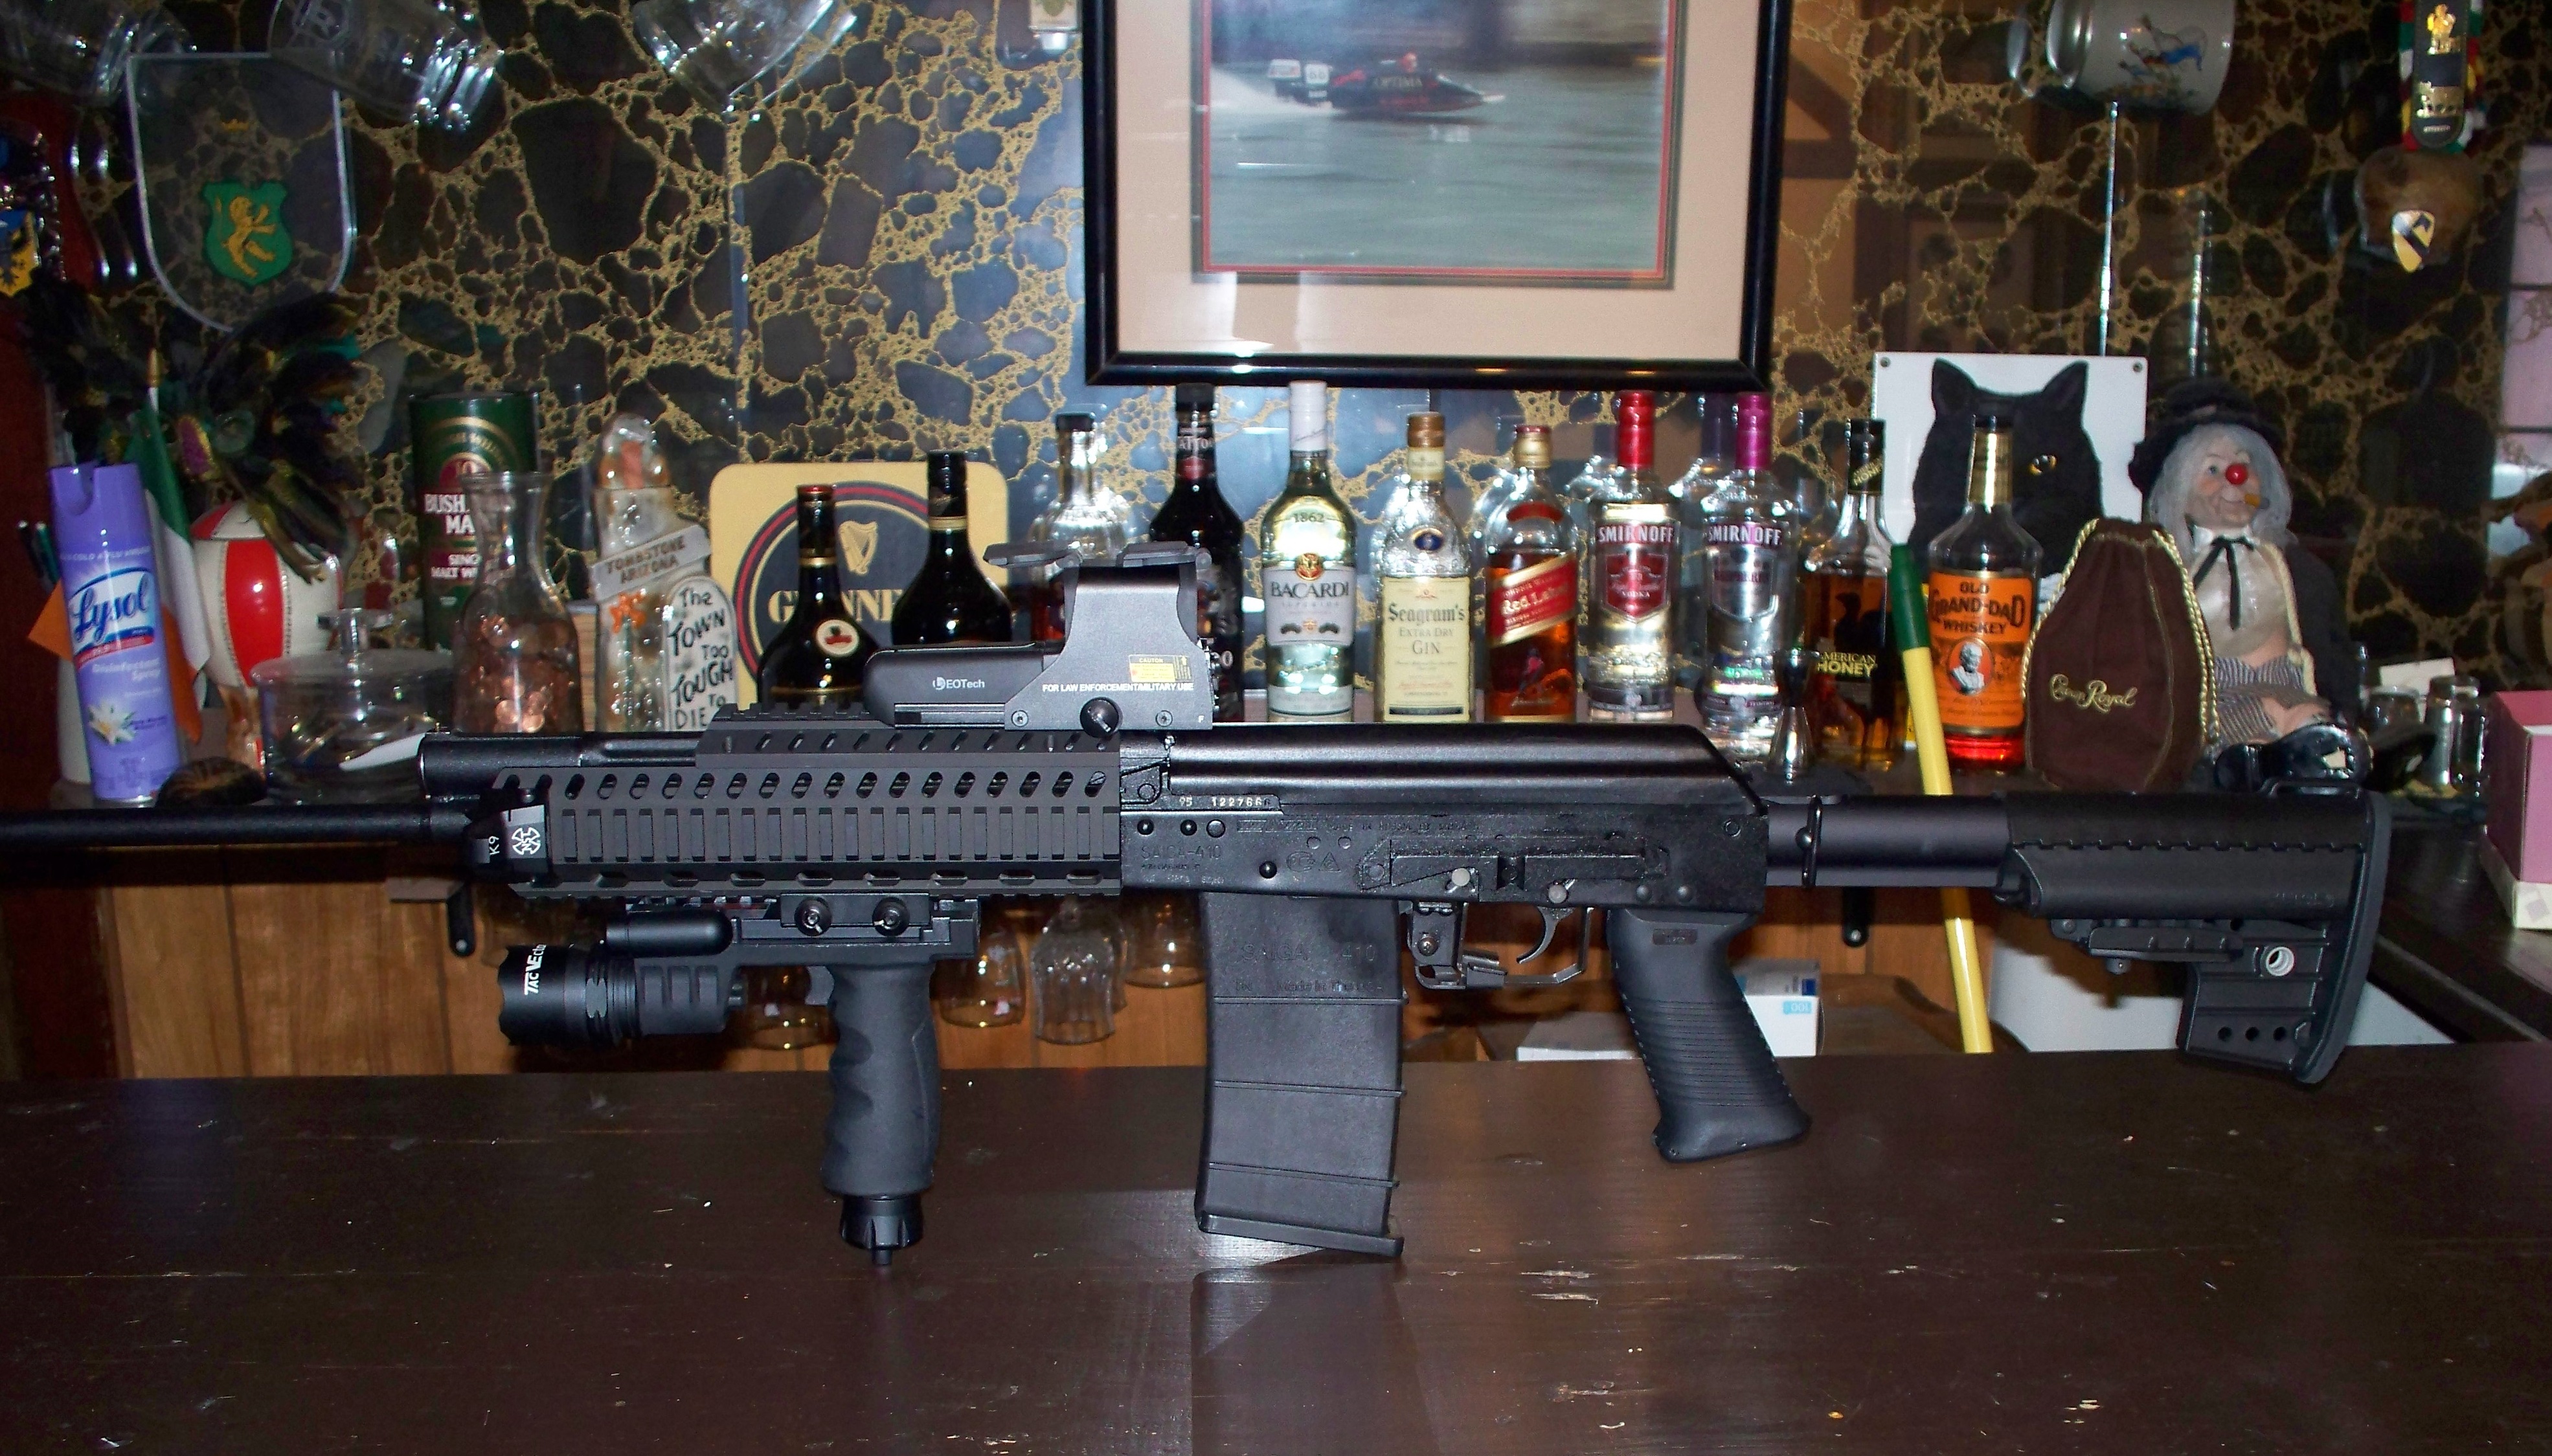
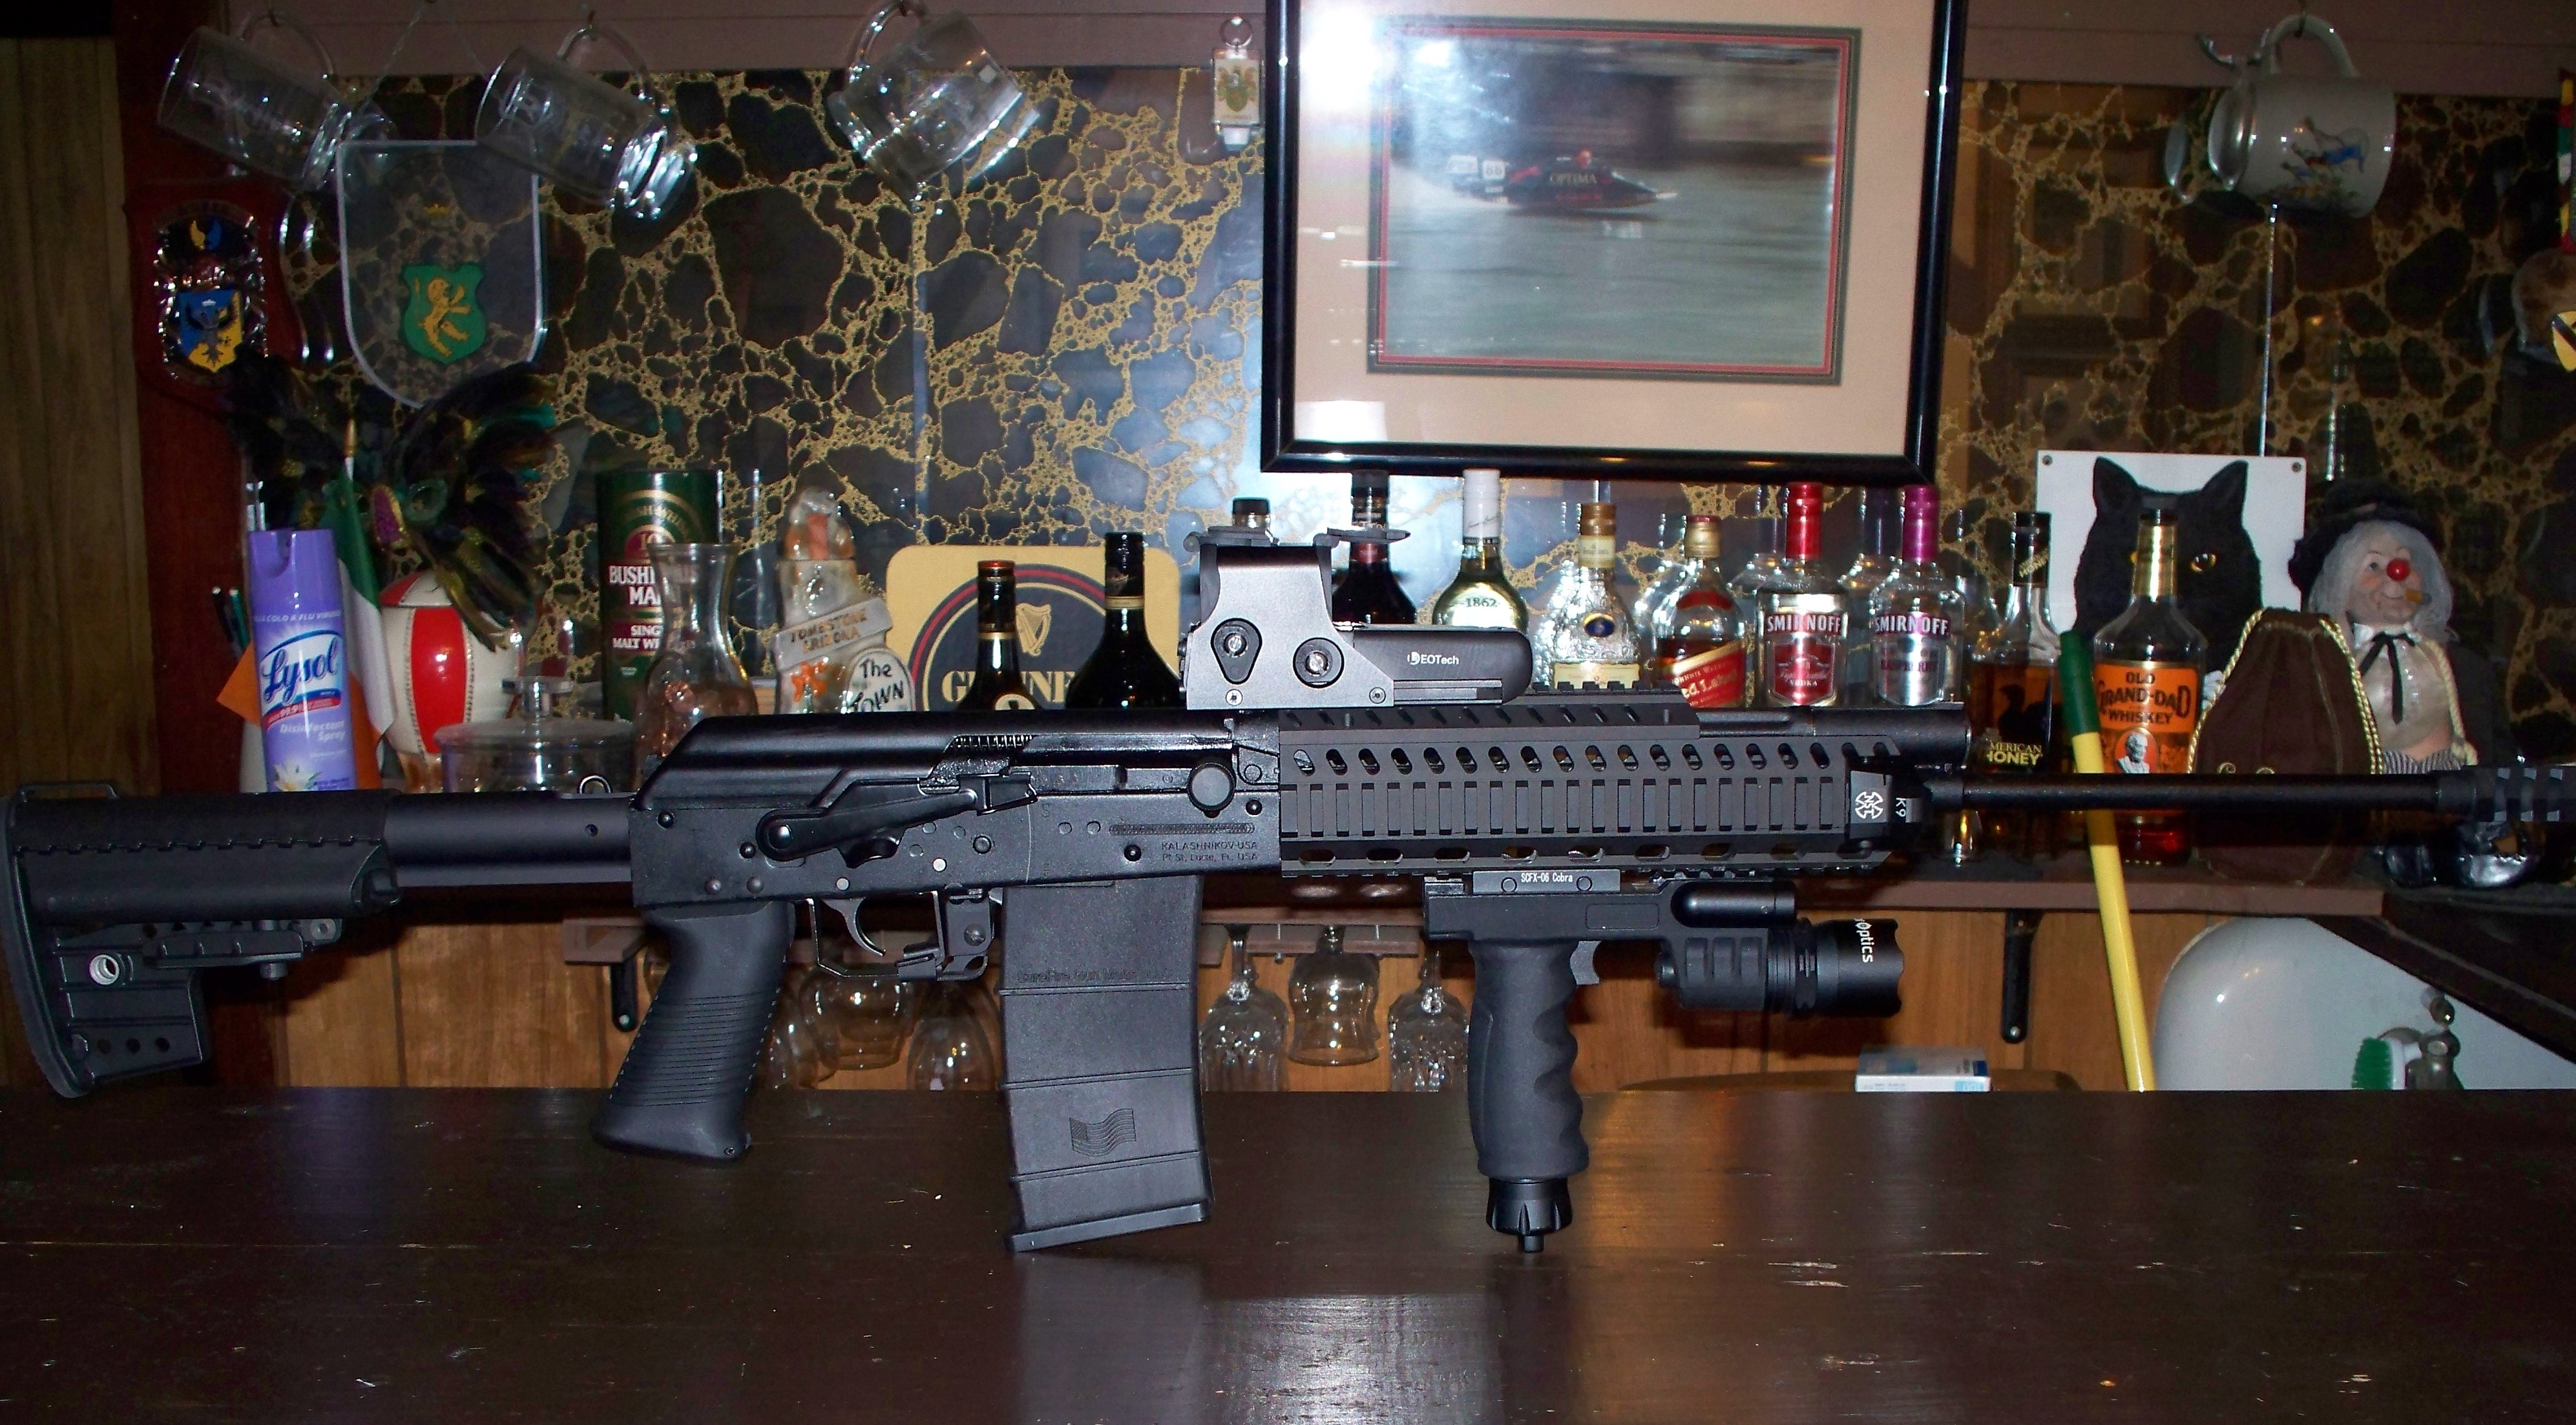
It took a little bit of gunsmithing to move the fire control group and tune the extended mag release to accomodate all the different mags (mostling drilling, grinding and filing). The fire control group was a drop in pretty much once the old group and plate was removed.
I did my conversion:
- Fire Control Group
- JTE performance main spring
- Trigger guard
- Extended mag release
- Krebs Mark VI-S safety selector
- M4 commercial size stock adapter
- M4 VLTOR stock
- Saw grip
- Tromix Shark muzzle brake
- Carolina quad-rail
- Tromix charging handle knob
- Noveske K-9's
- HUD optic red/green
- Foregrip/falshlight/green laser/navigation light
She now looks like:
It took a little bit of gunsmithing to move the fire control group and tune the extended mag release to accomodate all the different mags (mostling drilling, grinding and filing). The fire control group was a drop in pretty much once the old group and plate was removed.