• Mossberg Owners is in the process of upgrading the software. Please bear with us while we transition to the new look and new upgraded software.

Show off your Mossberg Tactical .22!!!

Thanks, I'm pleased with the colour and design it ended up out being.

Looks like it will blend in to concrete, tall grass, sand, rocks, and dry areas well. Possibly winter effective.

I'll try and get some better pics up. Turned out well for my first paint jobby. In a COLD garage to boot :)
 
imagecft.jpg


imageazwi.jpg


imagesun.jpg
 
That looks pretty cool. Nice work!

I still can't decide if I want to paint the entire gun or not...
 
Thanks! I chose to do the whole gun due to the fact of it being a plastic shell makes it easy to paint and not really have to worry about effecting function. I was initially just going to paint certain parts, but once I had it apart I figured might as well.

Also, you see a LOT of firearms with coloured furniture only. It's nice being unique and knowing no one out there has the same pattern.
 
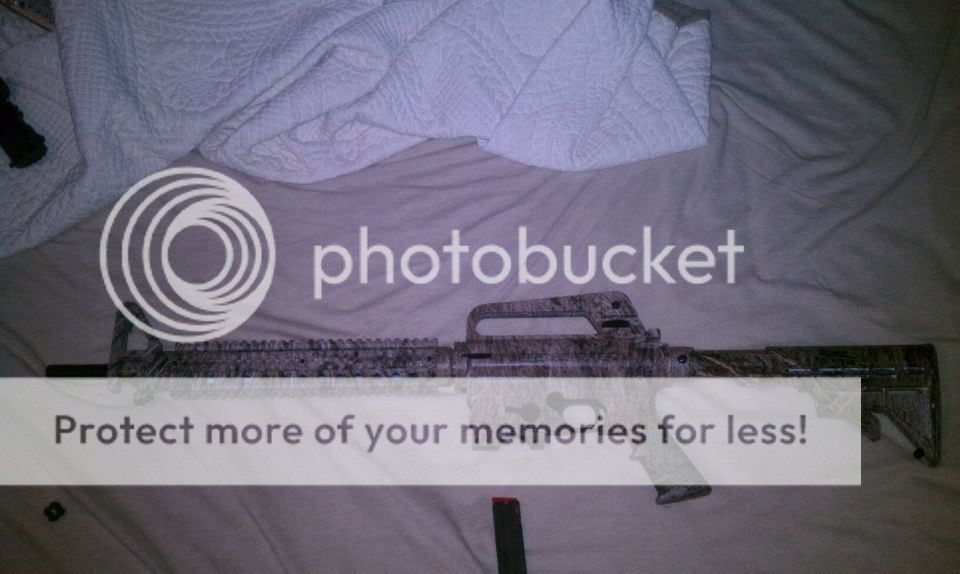
Hi there, i got a great looking mossy Tac 22 with 4 extra 25 round mags plus the original 10 rounder, for a very good price,

The gun looked like brand new just as described, but ever since i thought of getting one, (cos its the only non restricted m4 style one that took my eye, i didnt like the thin banana mag on the ruger 22 etc, ) the front end however has always looked wrong to me, too long for an m4, too short for an m16!! and no flash hider!

so my plan all along was to make it look more like an m4/car15 in a loose kind of way, since getting the actual flat top is almost impossible, i decided to do some chopping around,

I know most hate it, but i like the look of the carry handle, so even if i got the flat top i would have got the handle to put on, so this way i saved a bit of money!

So having had the precious beast in my sweaty mitts for less than an hour today (thursday 26th)! i began my conversion (i did test fire it etc before starting to cut!!),

I have been looking at all kinds of pictures, of m4's car15's etc, and working out the handguard length which it seems is usually 6 inch but can be 9 or even 12 depending on the tactical fit out, well i was going to go for the 6 inch look, but then thought i want to add some bolt on tactical goodies, and didnt want to end up with cramped hand space, but didnt want the long rails, so i made my handguard a nice custom 7 inch rail! so 3 inches or so had to come out the middle,

my first worry was how to join the two chopped halves together, i was thinking epoxy resin, black allen head bolts, and those repair plates you get from the hardware store, so i got those in preperation,

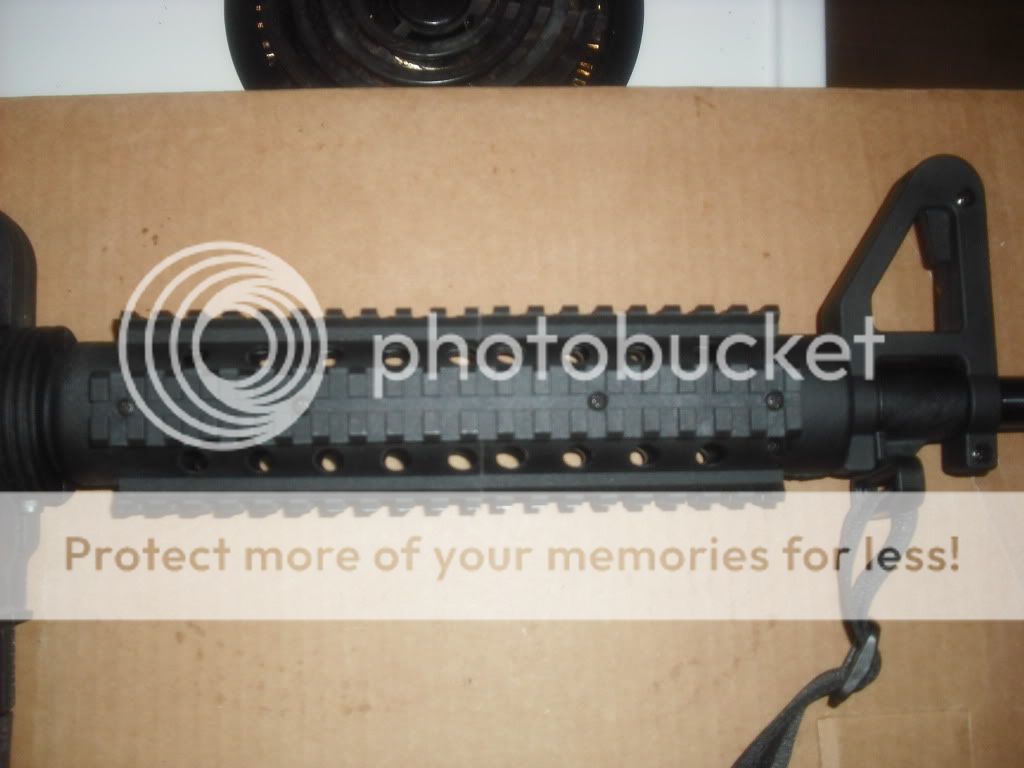
Then when the moment came to take off the handguards, i realised that the rails are srewed on and are made from strong solid polymer, and were very tough, so all i did was remove them from the sides, take the handguards to my table saw and carefully cut the section out of the middle of both halves, then trimmed them for a good snug smooth gap free fit (took longer to do than say due to an unseen very slight angle on the saw blade hehehehe) it turned out not to be exact middle due to the webs moulded inside which i wanted to kep for strength,

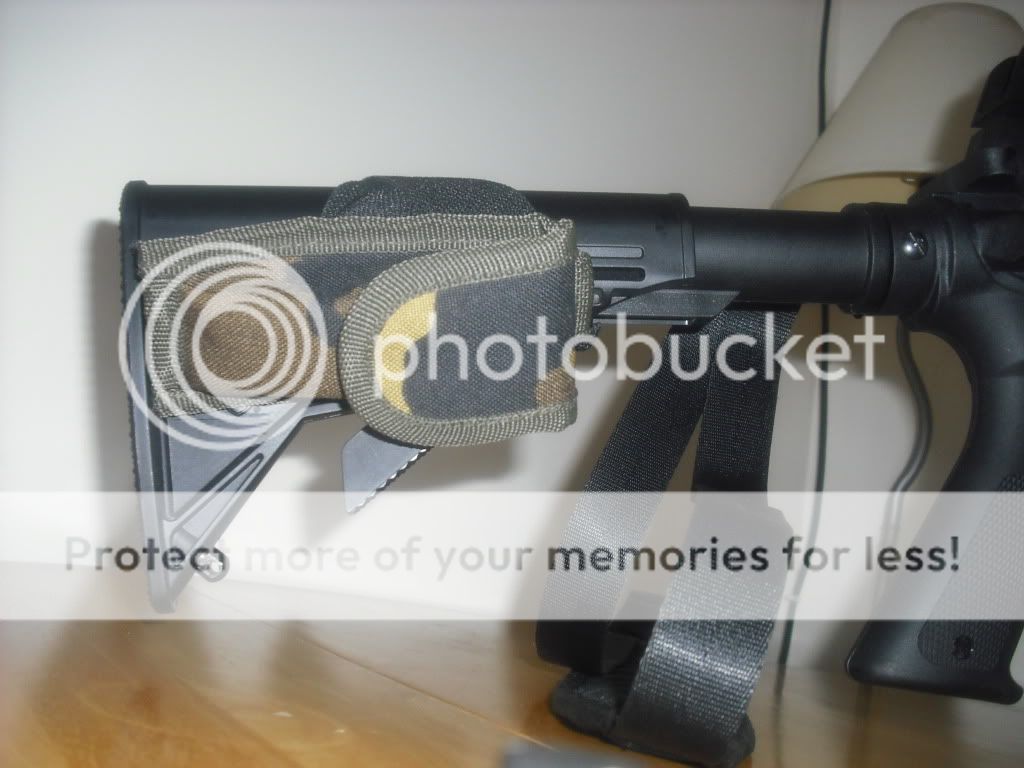
then i cut the rails to length and utilised the original screw hole at the front sight end, and re drilled at the other end of the rail and made an extra hole to make it 4 screws in total per side which now hold the rails to the sides, and once that was done i felt that the handguards seemed just as rigid as they were originally, i put some good old electrical tape round the barrel and the rear part where the halves clamp to the barrel and the front of the receiver, this took the wobble out of the fit, and i was quite amazed at how strong and rigid the whole thing now feels,

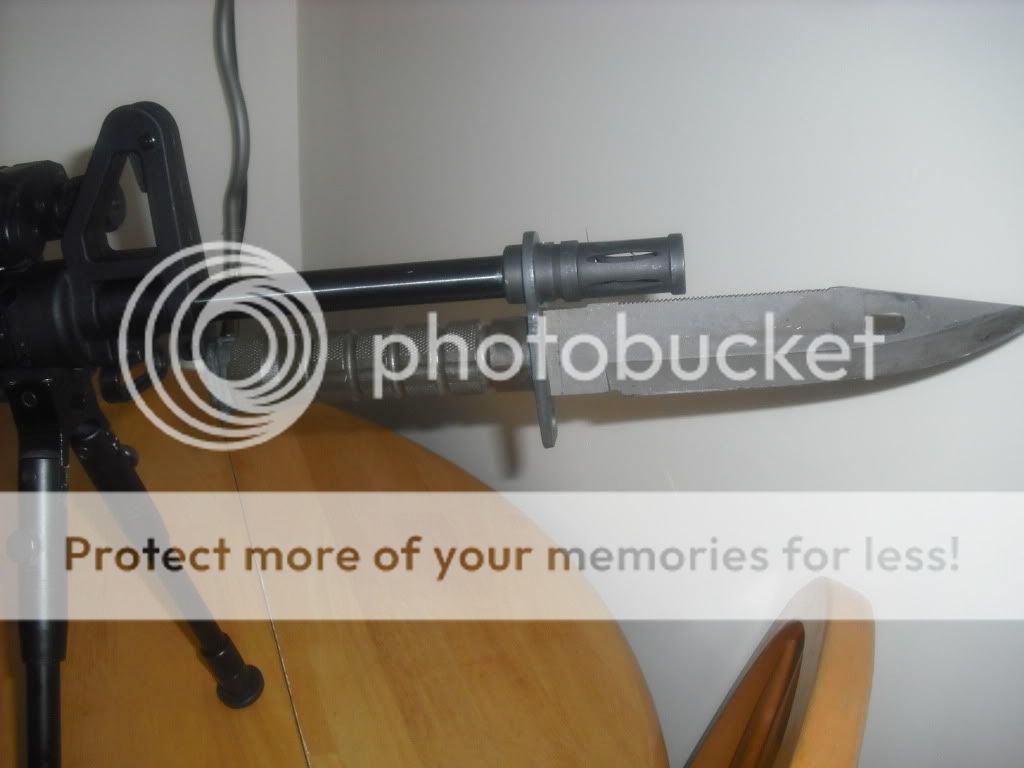
then i turned my attention to the wobbly 25 round mags, took out the 10 round part which sits into the extended fake mag top wrapped it in a few turns of electrical tape, put it back in,hey presto solid as a rock, (gotta love electrcal tape) it also filled the slight gap under the flash hider so thats fine and solid too, now its only the fit in the mag well and that fix everyone knows so i wont bore you with that one,

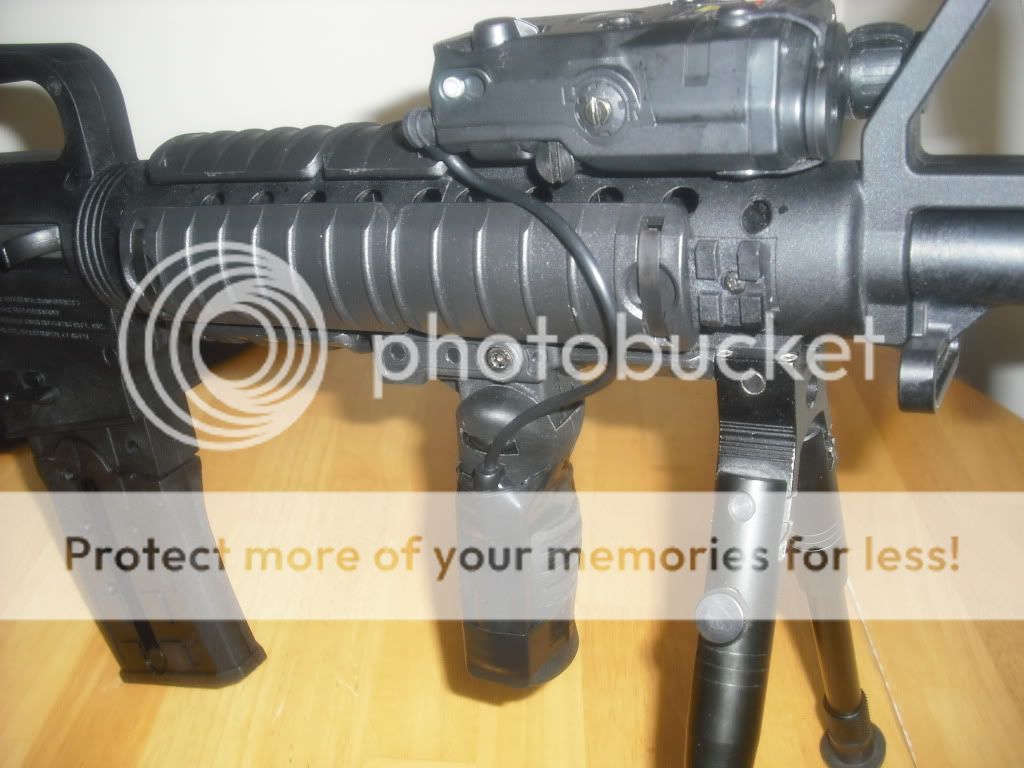
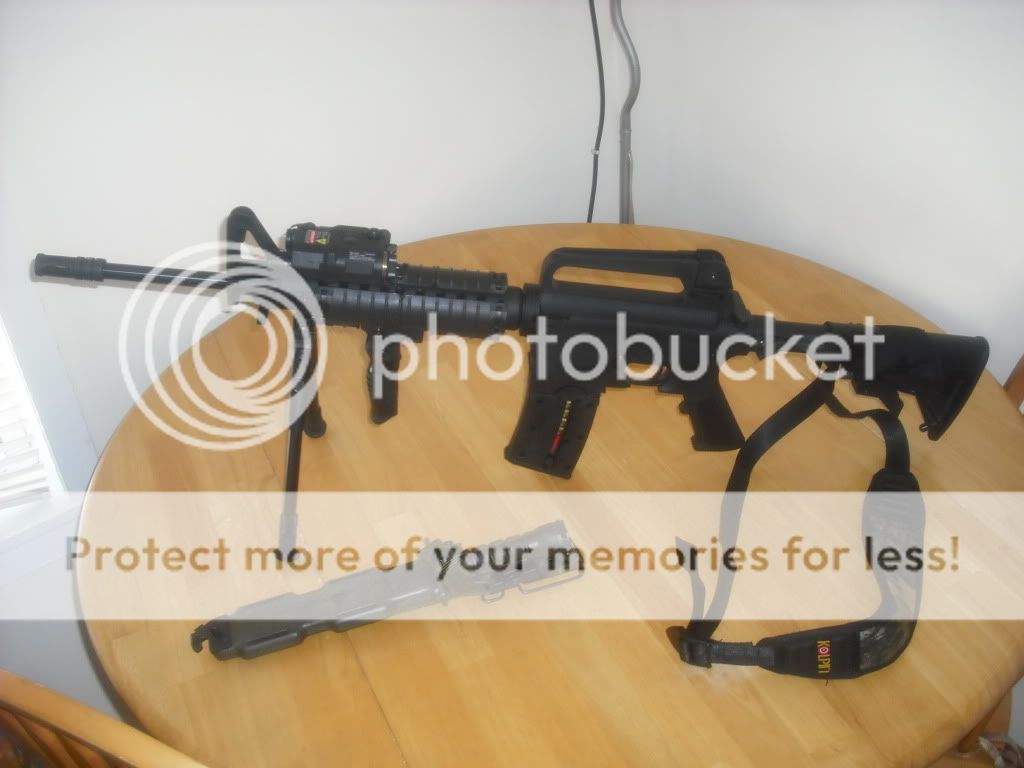
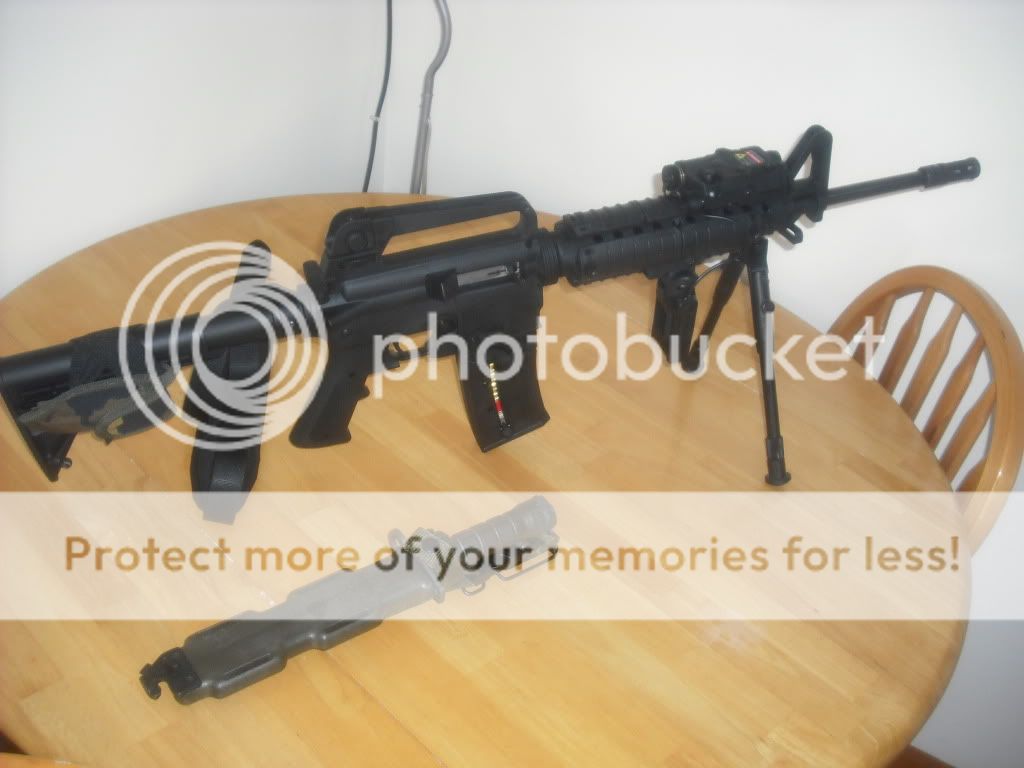
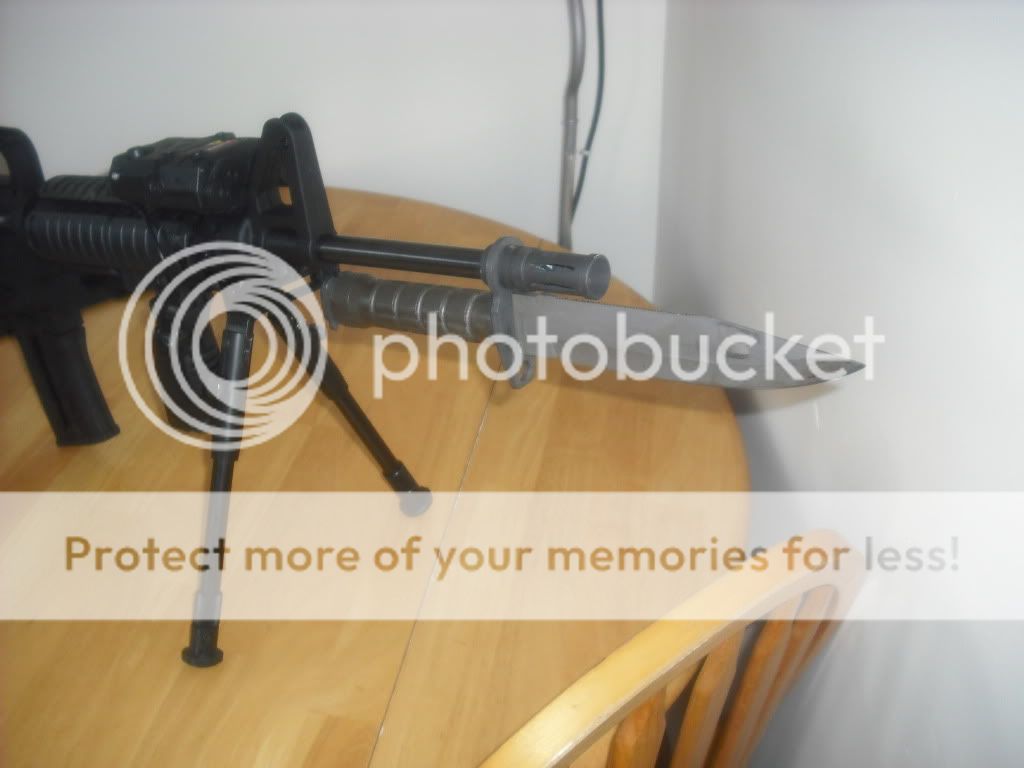
i think it looks great, and i now have room for some gadgets on it, (when they get he from china) i have rail covers, an an/peq laser / flashlight and a folding front grip handle, on their way so will post pics of completed job once done, but for now if i did it right you can see the beast and the handguard, the only thing is that due to my custom length, and wanting to get the picatinny rails to match two of the vent holes are a little close, but once the rail covers are on they wont be noticable anyway, the bi pod may or may not stay not sure yet, but hey , now i have an m4ish tac 22 i am a happy bunny!!! well thanks for looking, cheers, Dave, http://s557.photobucket.com/albums/ss18 ... =slideshow
 
Hi there, well the bolt on goodies have arrived so the rails have covers, the front has a bpod, the handguards have been shortened, and an AN/PEQ laser flashlight and folding grip handle have been fitted, also an m9 bayonet hehe, just for the hell of it! so heres a link since i am having trouble with my getting the pics resized to show on here, will keep trying, but in the meantime, heres the link, enjoy, cheers, Dave
DSCF1707.jpg

DSCF1703.jpg

DSCF1704.jpg

DSCF1702.jpg

DSCF1708.jpg

DSCF1667.jpg
 
wraith805 said:
Unfortunately I happen to live in the republic of California... land of the 10 round maximum magazine :(
The gun just doesn't look right without an M4/AR mag hanging from it. So, I decided to incorporate the standard Plinkster 10rd'ers onto a metal airsoft M4 mag. A little cutting, a little bending, drill 2 holes, install 2 rivets & voila! :D

Can you post some more pics/instructions on your mag mod?
 
Added some color. I put a Handall Jr on that I'm going to try and paint. Might do the foregrip too. It's got inserts on both sides that I might try it on first.

mossy61.jpg
 
Here's mine. started out as the camo wrapped version and after it met some paint and a dremel tool this is where its at!

before:
Pre-Build.jpg


after:
done.jpg
 
dcrallyfan said:
Here's mine. started out as the camo wrapped version and after it met some paint and a dremel tool this is where its at!

before:
Pre-Build.jpg


after:
done.jpg

dont they look better once the front grip is trimmed down to soemthimg like a proportional length, i wonder why it was so long and out of proportion in the first place, because they clearly rectified it with the later flat top design,
 
dont they look better once the front grip is trimmed down to soemthimg like a proportional length, i wonder why it was so long and out of proportion in the first place, because they clearly rectified it with the later flat top design,

They look 100% better. It completely changes the look of the rifle. with a minor effect on the balance. at least in my case.
 
Looks great shortened down. So you must have taken some of the center section out, but how did you put them back together? Does glue work on this stuff?
 
toyracer38 said:
Looks great shortened down. So you must have taken some of the center section out, but how did you put them back together? Does glue work on this stuff?

Yes I cut it out of the center and I used krazy glue to bond them back together and it holds like a dream.
 
dcrallyfan said:
toyracer38 said:
Looks great shortened down. So you must have taken some of the center section out, but how did you put them back together? Does glue work on this stuff?

Yes I cut it out of the center and I used krazy glue to bond them back together and it holds like a dream.

when i cut mine down, i held them together with the cut down side rails, added 2 extra screws so thats 2 in each half, and no glue, they are very solid, you can see it in my pics, say what you like about the plastic gun, the plastic is tough stuff!
 
colonelchimp said:
dcrallyfan said:
toyracer38 said:
Looks great shortened down. So you must have taken some of the center section out, but how did you put them back together? Does glue work on this stuff?

Yes I cut it out of the center and I used krazy glue to bond them back together and it holds like a dream.

when i cut mine down, i held them together with the cut down side rails, added 2 extra screws so thats 2 in each half, and no glue, they are very solid, you can see it in my pics, say what you like about the plastic gun, the plastic is tough stuff!

I did use your pictures as my guide for making my cut. I cut the same amount out as you did so thank you sir for that!
 
when i cut mine down, i held them together with the cut down side rails, added 2 extra screws so thats 2 in each half, and no glue, they are very solid, you can see it in my pics, say what you like about the plastic gun, the plastic is tough stuff![/quote]

I did use your pictures as my guide for making my cut. I cut the same amount out as you did so thank you sir for that![/quote]

you did? cool, just note that mine is a little longer 9 holes instead of 8, to give me about an inch more room for bolt on goodies, plus the proportions looked better as i have the flash hider on which adds to the barrel length, etc, and i am a bit wierd like that, show pics when you're done always intrested to see em, cheers :D
 
Thanks for the info guys! I cut it down to 9 holes. Think it turned out great. Ended up using some glue called Surehold Plastic Surgery. Stuff works great!
MT22.jpg
 
toyracer38 said:
Thanks for the info guys! I cut it down to 9 holes. Think it turned out great. Ended up using some glue called Surehold Plastic Surgery. Stuff works great!
MT22.jpg

looks great, well done, ..........plastic surgery glue on a plastic gun works for me :lol: 
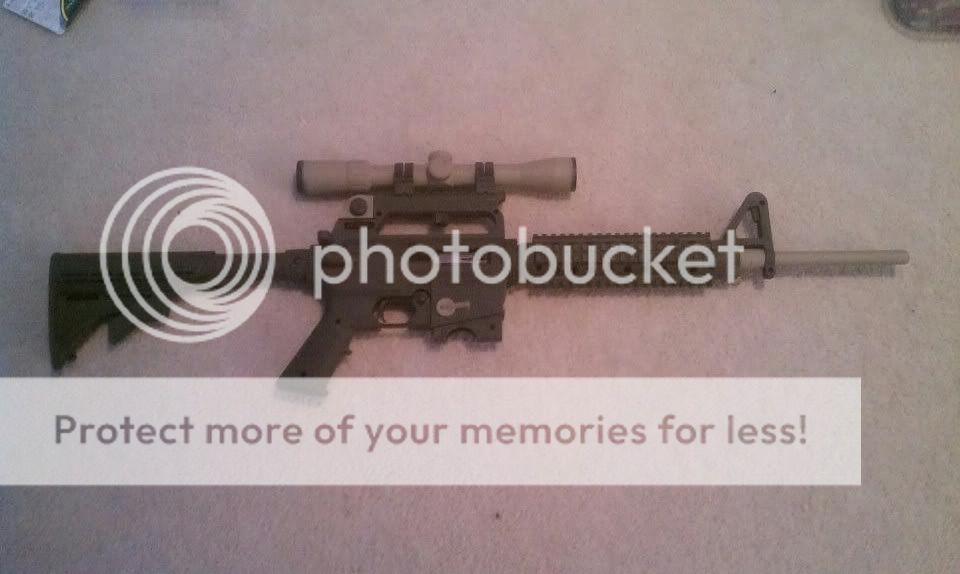
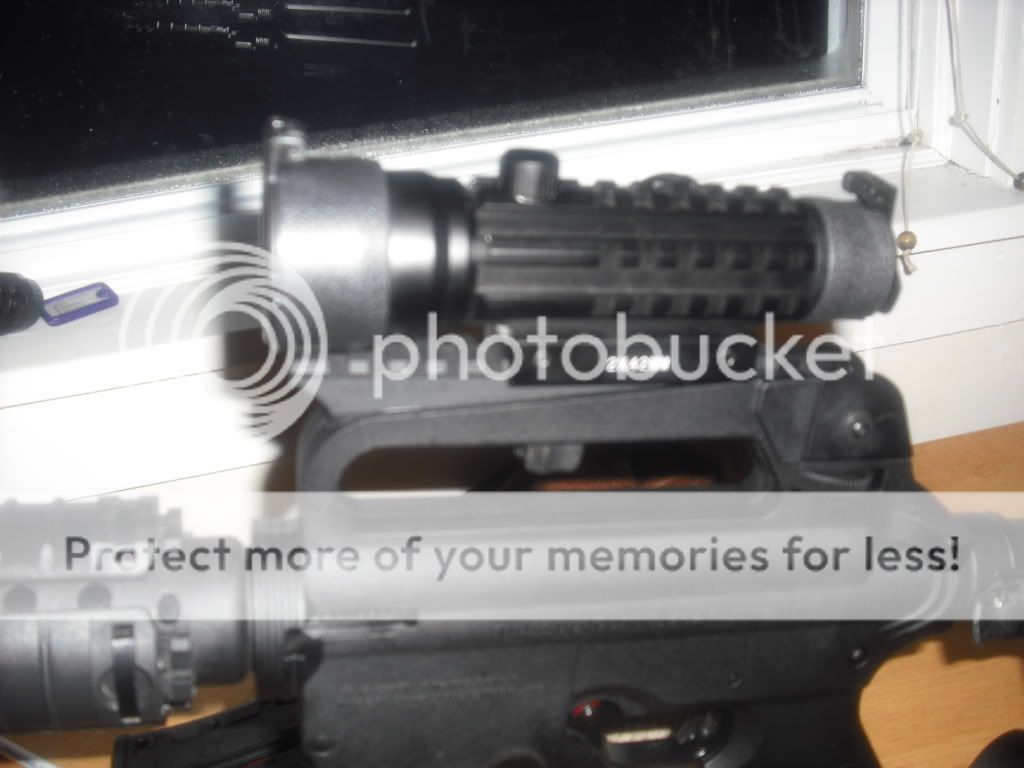
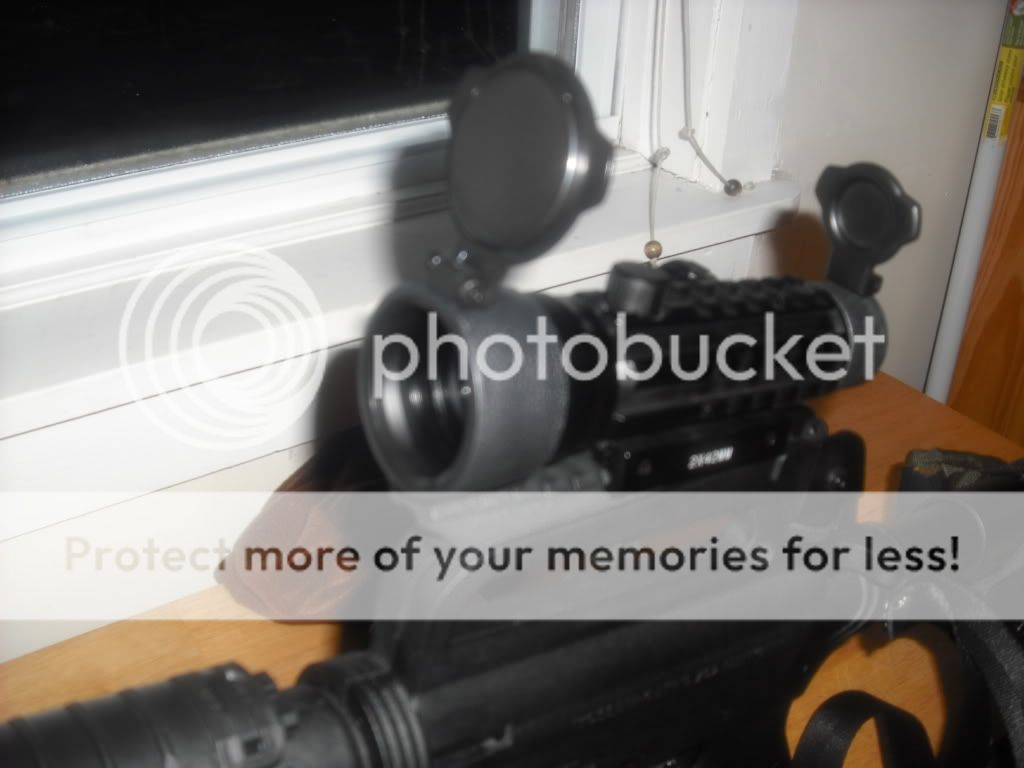
lololololololololololol!!! i just fitted my new red dot scope, its WALTHER 2x42 and got red and green dots, plus more rails for more bolt on stuff.......
DSCF1739.jpg

DSCF1740.jpg


oh yeah and a pic of my kind of guard dog!!!
DSCF1736-1.jpg
 
Back
Top