I was contacted and asked to make a sheath by forum member jgwills. After a bit od messaging back and forth and since I had never made a sheath for a sword before I decided to take on the job. He asked me to make a leather sheath for his Cold Steel “Gladious” sword. (see link)
http://www.coldsteel.com/Product/97GMS/GLADIUS_MACHETE.aspx
At nearly 2 pounds its an impressive piece but sadly it comes in a canvas and plastic sheath. He wanted something a little more in keeping with the era. Right away I could see all sorts of potential for Celtic stamping and ornate carving but he would hear nothing of the sort. He wanted it plain, an everyday foot soldier look to it. I was bummed out but it’s his sword and I have to respect that.
The sheath that cane with the sword and the typical wrap and snap like so many knife sheaths have but modern snaps would also not have been in keeping with the time period so I needed to find another way to keep the sword in the sheath with the leather I had on hand. I am using 8 Oz tooling leather (about an 1/8 of an inch thick.)
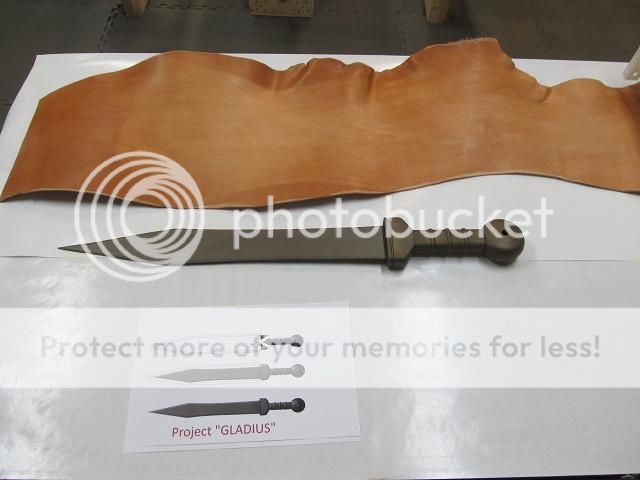
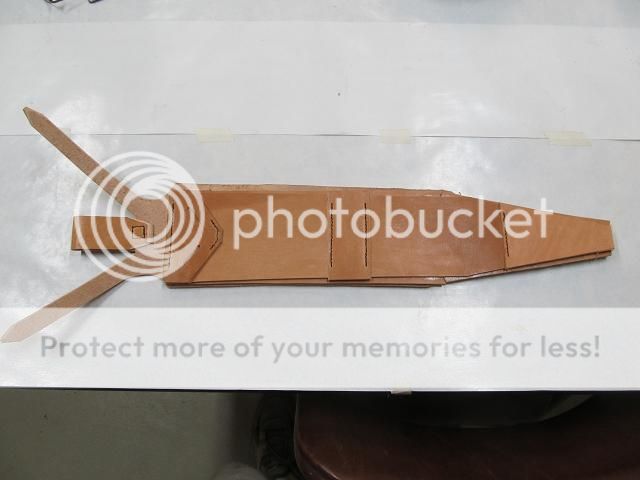
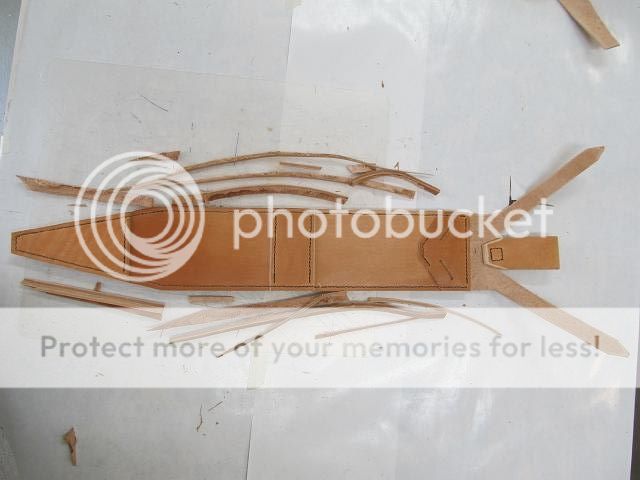
Step one is to create a design and then cut out all the pieces of leather with a razor knife.
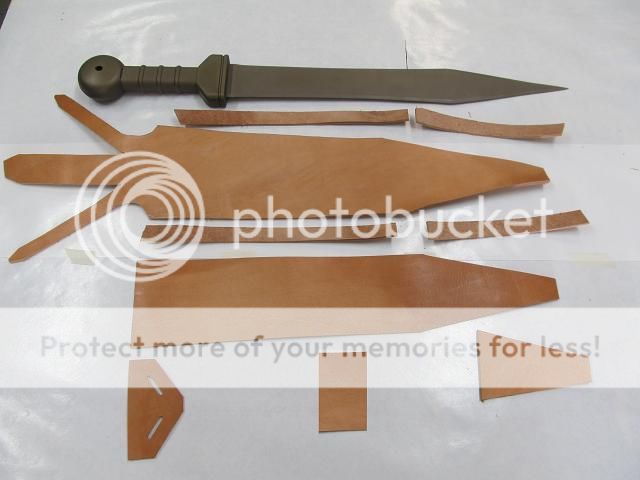
All the pieces are positioned and tacked in place with contact cement so they don’t shift while hand stitching.
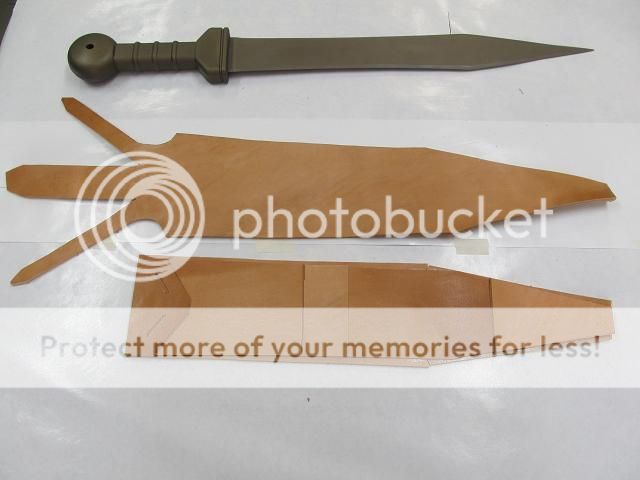
The welt is sandwiched between the front and rear portions of the sheath and is equal to the thickness of the sword blade otherwise a blade this long would get pinched/trapped in the leather and the blade edge would cut all the stitching.
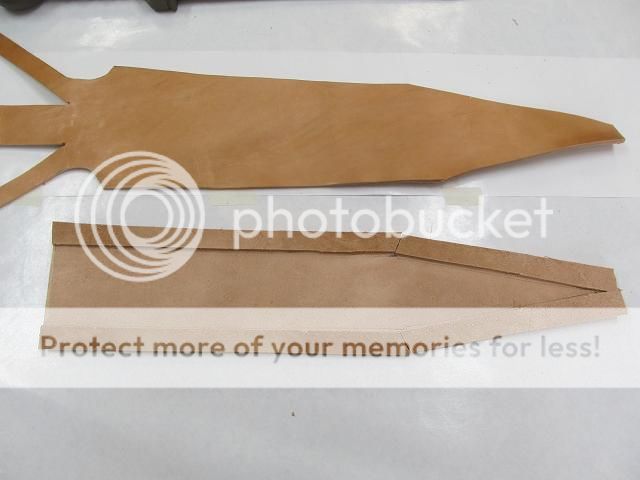
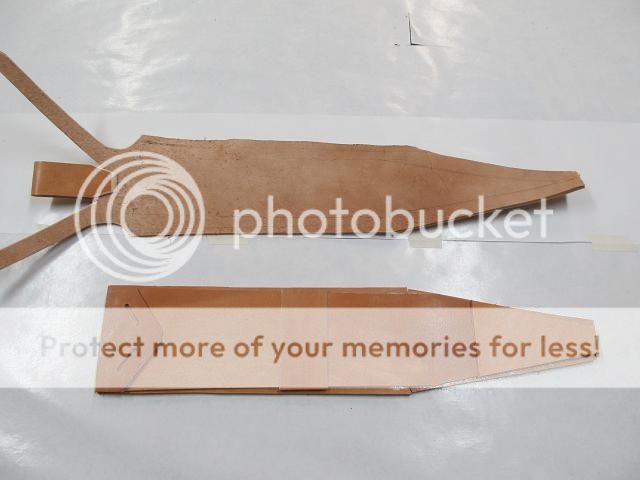
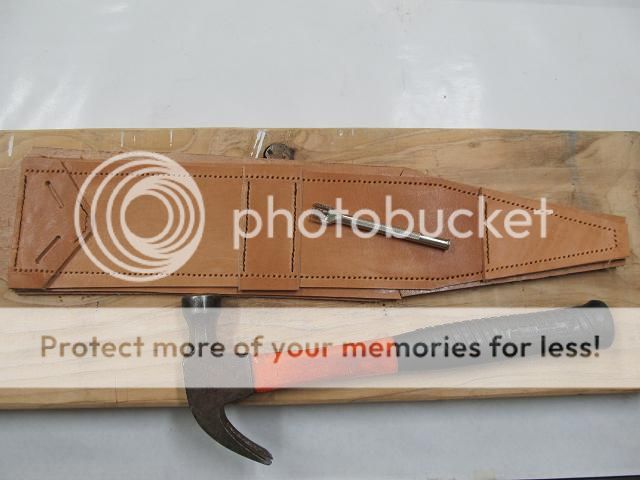
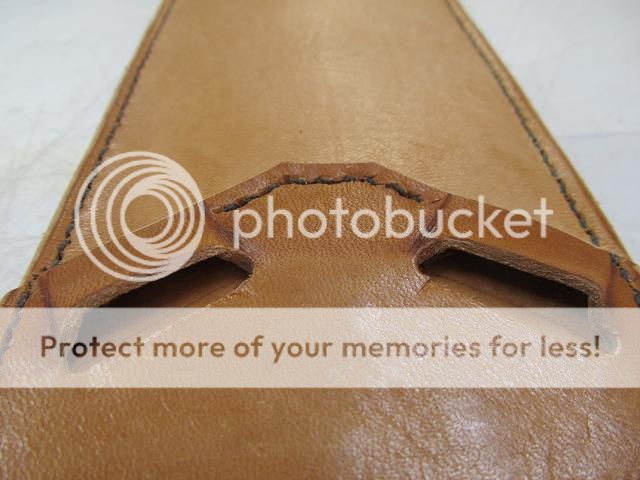
The features of the front face are stamped and stitched since it would be impossible to do so after the front and rear of the sheathe joined.

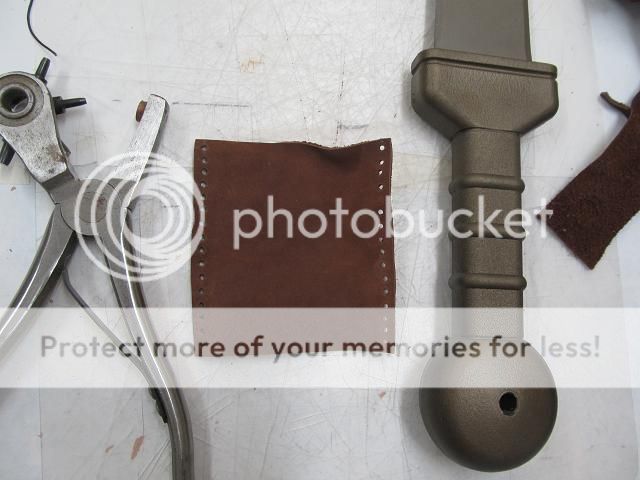
Then all the stitching holes are stamped through all the layers.
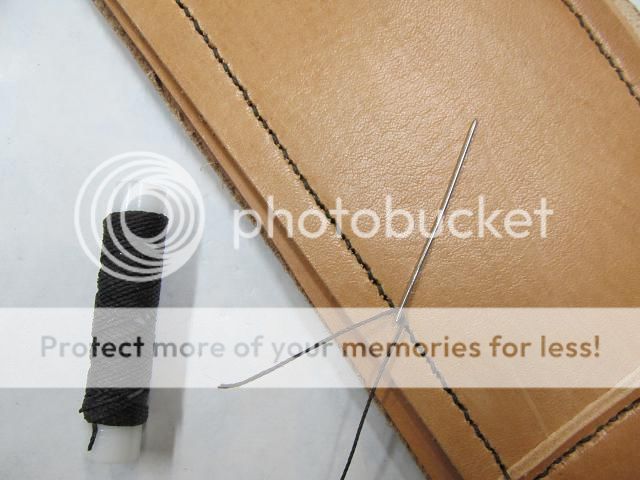
Then lots and lots of time stitching by hand. (and with a pliers because this sheath is over a half inch thick to prevent that needle point from coming though the leather)
After stitching the final trim is done with a razor knife.
Then the outer edges are beveled and wetted and slicked round with a deer antler.
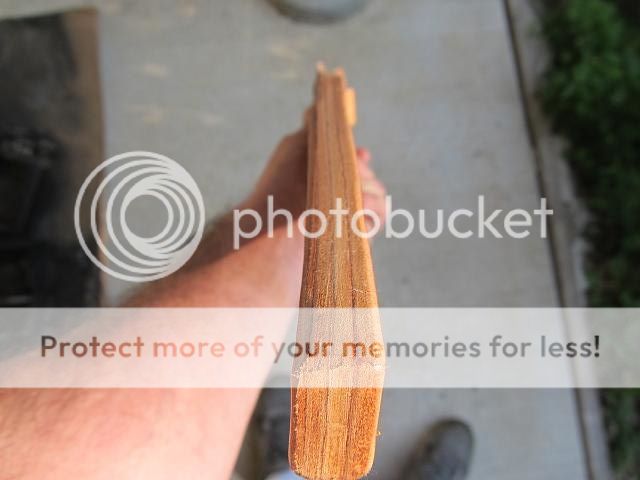
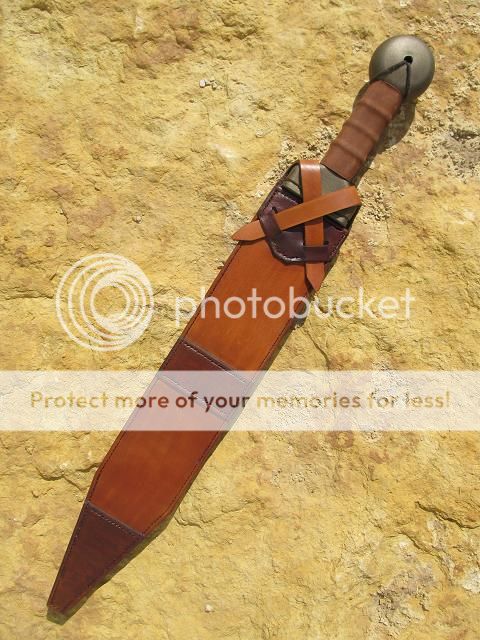
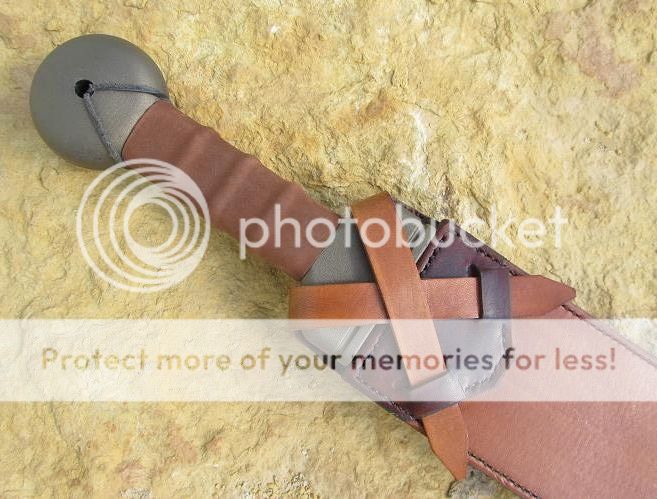
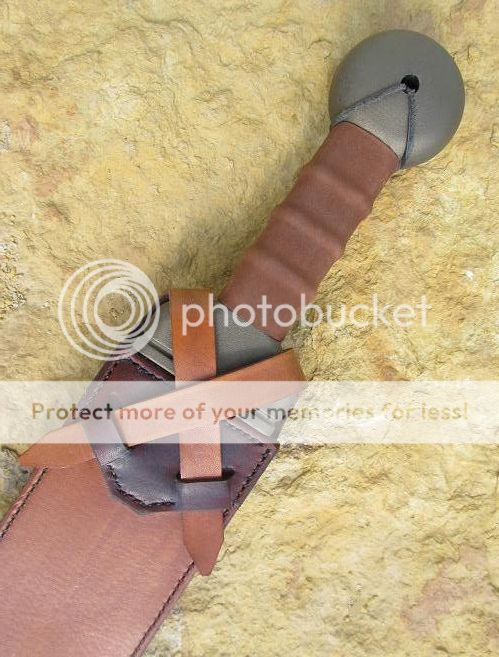
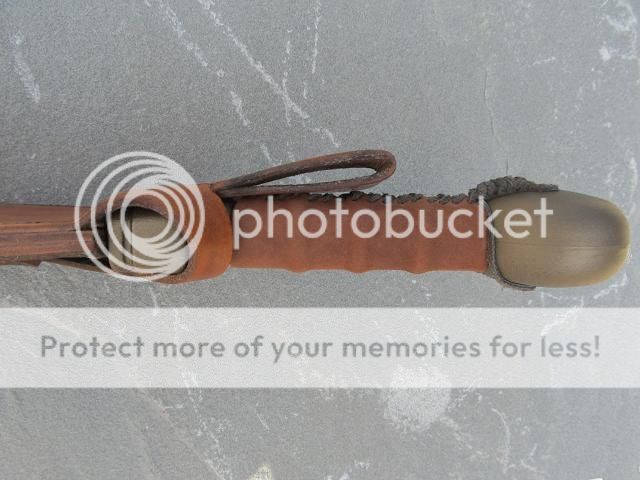
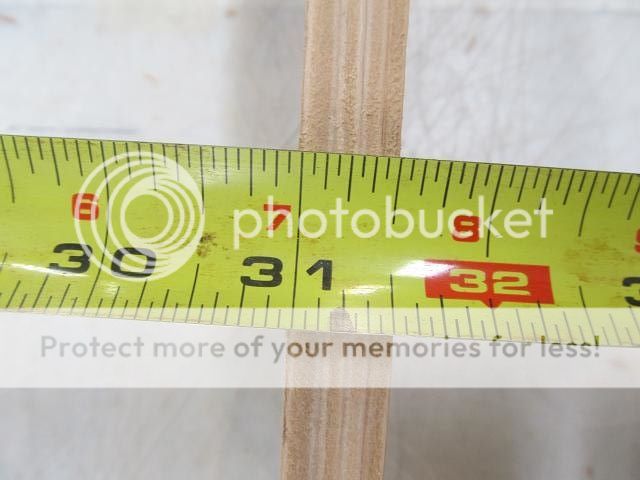
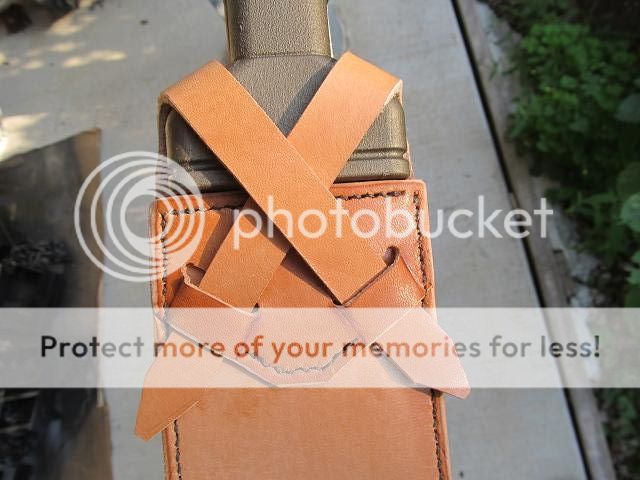
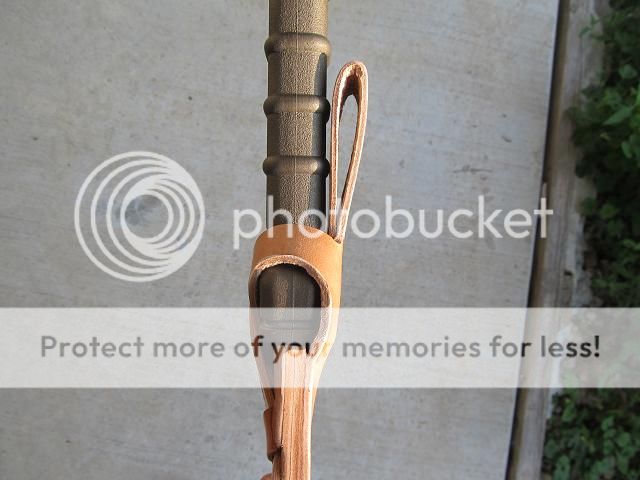
The sword will be kept in the sheath with the two integral leather straps but feeding the straps though the openings will be tough so I tapered some wood blocks and wetted the leather to mold and lock in a shape. The wood blocks are tapered to a zero thickness that allows the straps to be fed in but still afford the friction at the lead out side to hold the straps securely.

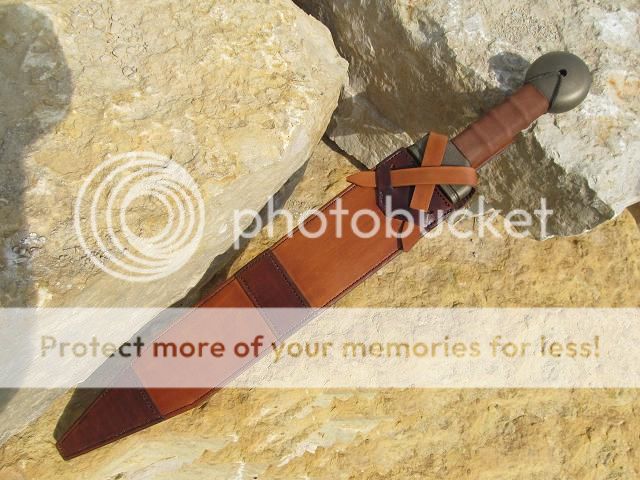
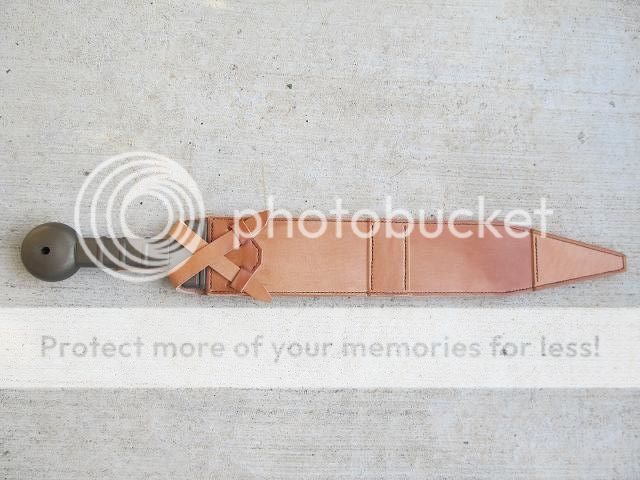
So far so good. Time for a trial fit.
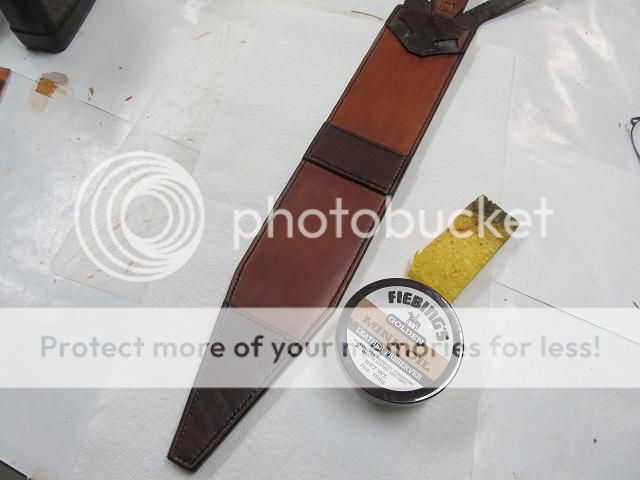
Im leaving town tomorrow to continue working on the barn rebuild but when I return I will stain the leather and treat it with neatsfoot oil and mink oil to waterproof it.
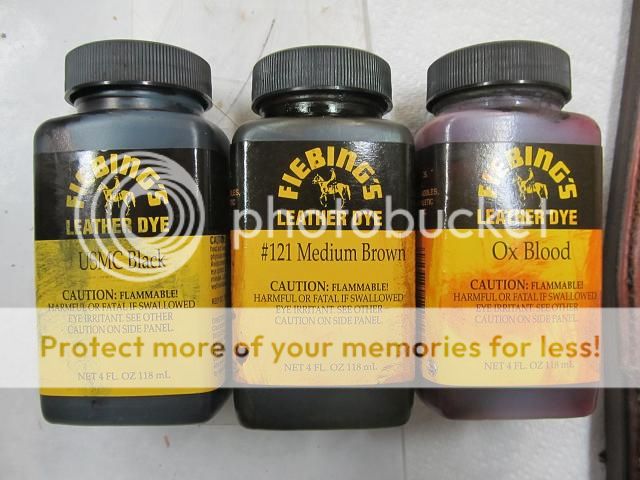
I was thinking a dark stain on the double thicknesses at the tip, in the middle and at the sheath opening and a lighter colored stain everywhere else but that is to the sword owner to weigh in on perhaps he is not into two tone and wants it a single color. I was thinking lighter brown and darker black/brown.
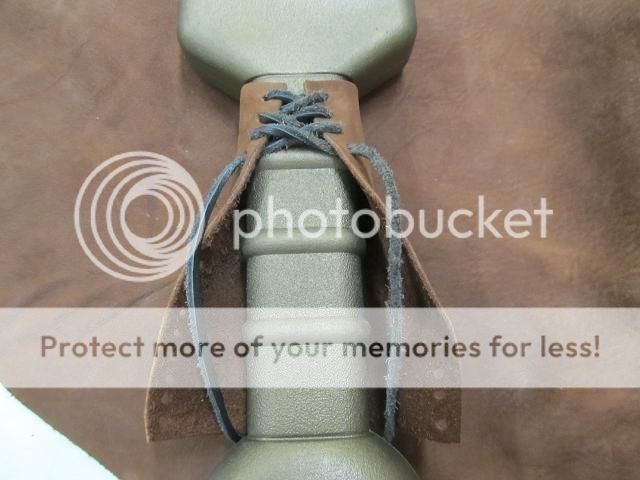
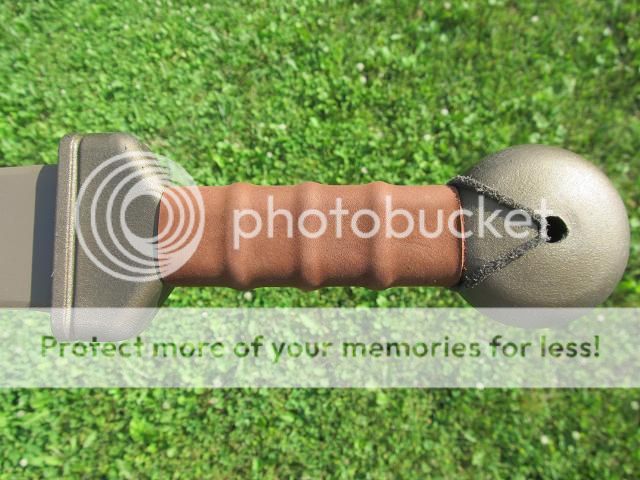
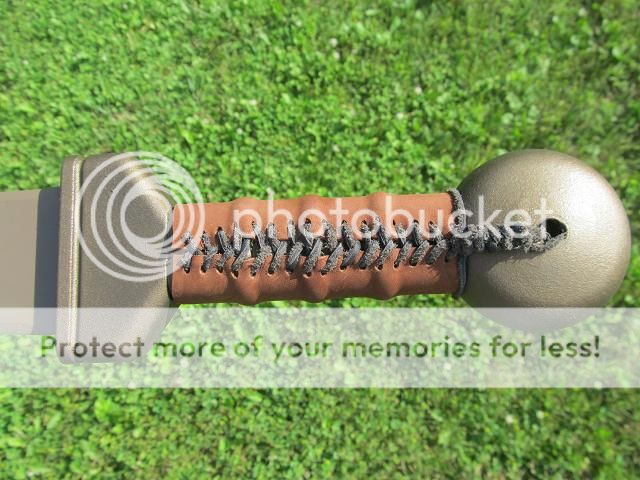
Also he asked that the handle of the sword be wrapped in leather. I would dye it one of the colors used for the sheath.
http://www.coldsteel.com/Product/97GMS/GLADIUS_MACHETE.aspx
At nearly 2 pounds its an impressive piece but sadly it comes in a canvas and plastic sheath. He wanted something a little more in keeping with the era. Right away I could see all sorts of potential for Celtic stamping and ornate carving but he would hear nothing of the sort. He wanted it plain, an everyday foot soldier look to it. I was bummed out but it’s his sword and I have to respect that.
The sheath that cane with the sword and the typical wrap and snap like so many knife sheaths have but modern snaps would also not have been in keeping with the time period so I needed to find another way to keep the sword in the sheath with the leather I had on hand. I am using 8 Oz tooling leather (about an 1/8 of an inch thick.)
Step one is to create a design and then cut out all the pieces of leather with a razor knife.
All the pieces are positioned and tacked in place with contact cement so they don’t shift while hand stitching.
The welt is sandwiched between the front and rear portions of the sheath and is equal to the thickness of the sword blade otherwise a blade this long would get pinched/trapped in the leather and the blade edge would cut all the stitching.
The features of the front face are stamped and stitched since it would be impossible to do so after the front and rear of the sheathe joined.
Then all the stitching holes are stamped through all the layers.
Then lots and lots of time stitching by hand. (and with a pliers because this sheath is over a half inch thick to prevent that needle point from coming though the leather)
After stitching the final trim is done with a razor knife.
Then the outer edges are beveled and wetted and slicked round with a deer antler.
The sword will be kept in the sheath with the two integral leather straps but feeding the straps though the openings will be tough so I tapered some wood blocks and wetted the leather to mold and lock in a shape. The wood blocks are tapered to a zero thickness that allows the straps to be fed in but still afford the friction at the lead out side to hold the straps securely.
So far so good. Time for a trial fit.
Im leaving town tomorrow to continue working on the barn rebuild but when I return I will stain the leather and treat it with neatsfoot oil and mink oil to waterproof it.
I was thinking a dark stain on the double thicknesses at the tip, in the middle and at the sheath opening and a lighter colored stain everywhere else but that is to the sword owner to weigh in on perhaps he is not into two tone and wants it a single color. I was thinking lighter brown and darker black/brown.
Also he asked that the handle of the sword be wrapped in leather. I would dye it one of the colors used for the sheath.
") Assuming you were inclined to do possibly another one down the pipe that might not be completely out of the question. I've got another blade that I'm not too excited about its included sheath either. As for this one I'm floored already and its not even finished. I'm inclined to agree the two tone leather color would be killer so go for it.
Assuming you were inclined to do possibly another one down the pipe that might not be completely out of the question. I've got another blade that I'm not too excited about its included sheath either. As for this one I'm floored already and its not even finished. I'm inclined to agree the two tone leather color would be killer so go for it.